May 9th, so about 3 weeks ago I bought a 3D printer kit with the intention of learning about how the technology works and intending to modify it into a automated pipetting robot for my CTC experiments. I came across this idea after learning about the RepRap project that created open source 3D printing technology and hearing about a OpenTrons that’s trying to do this on a commercial scale. However, I know for my experiments I will need to do more than pipetting so I need to modify the hardware and electronics. I came to the conclusion that the Prusa i3 had become a pretty popular design in the RepRap community and can be purchased in a kit form available on-line.
In searching, I came across 3dprintersonlinestore.com that seems to be the best site out there with reviews of 3D printer kits. Amazon.com has some reviews but their prices and selection aren’t as good and they don’t have a categorical view to see all the models in. If you look at at kits, you’ll notice even though they all claim to be Prusa i3 designs each kit has modifications to it in various ways. For example, many have changed the threaded rod terminating the y-axis carriage to plates. I decided to go with the design that looked most like the open i3 designs, (there are a few i3 designs, rework, Einstein) with the threaded rod thinking it would be easier to modify. So I purchased the He3D i3 for $265 + $90 shipping from China. The rest of this post is about the story of putting it together and getting it to print over the last few weekends. It rained I believe every day of May so it was a good project while staying indoors.
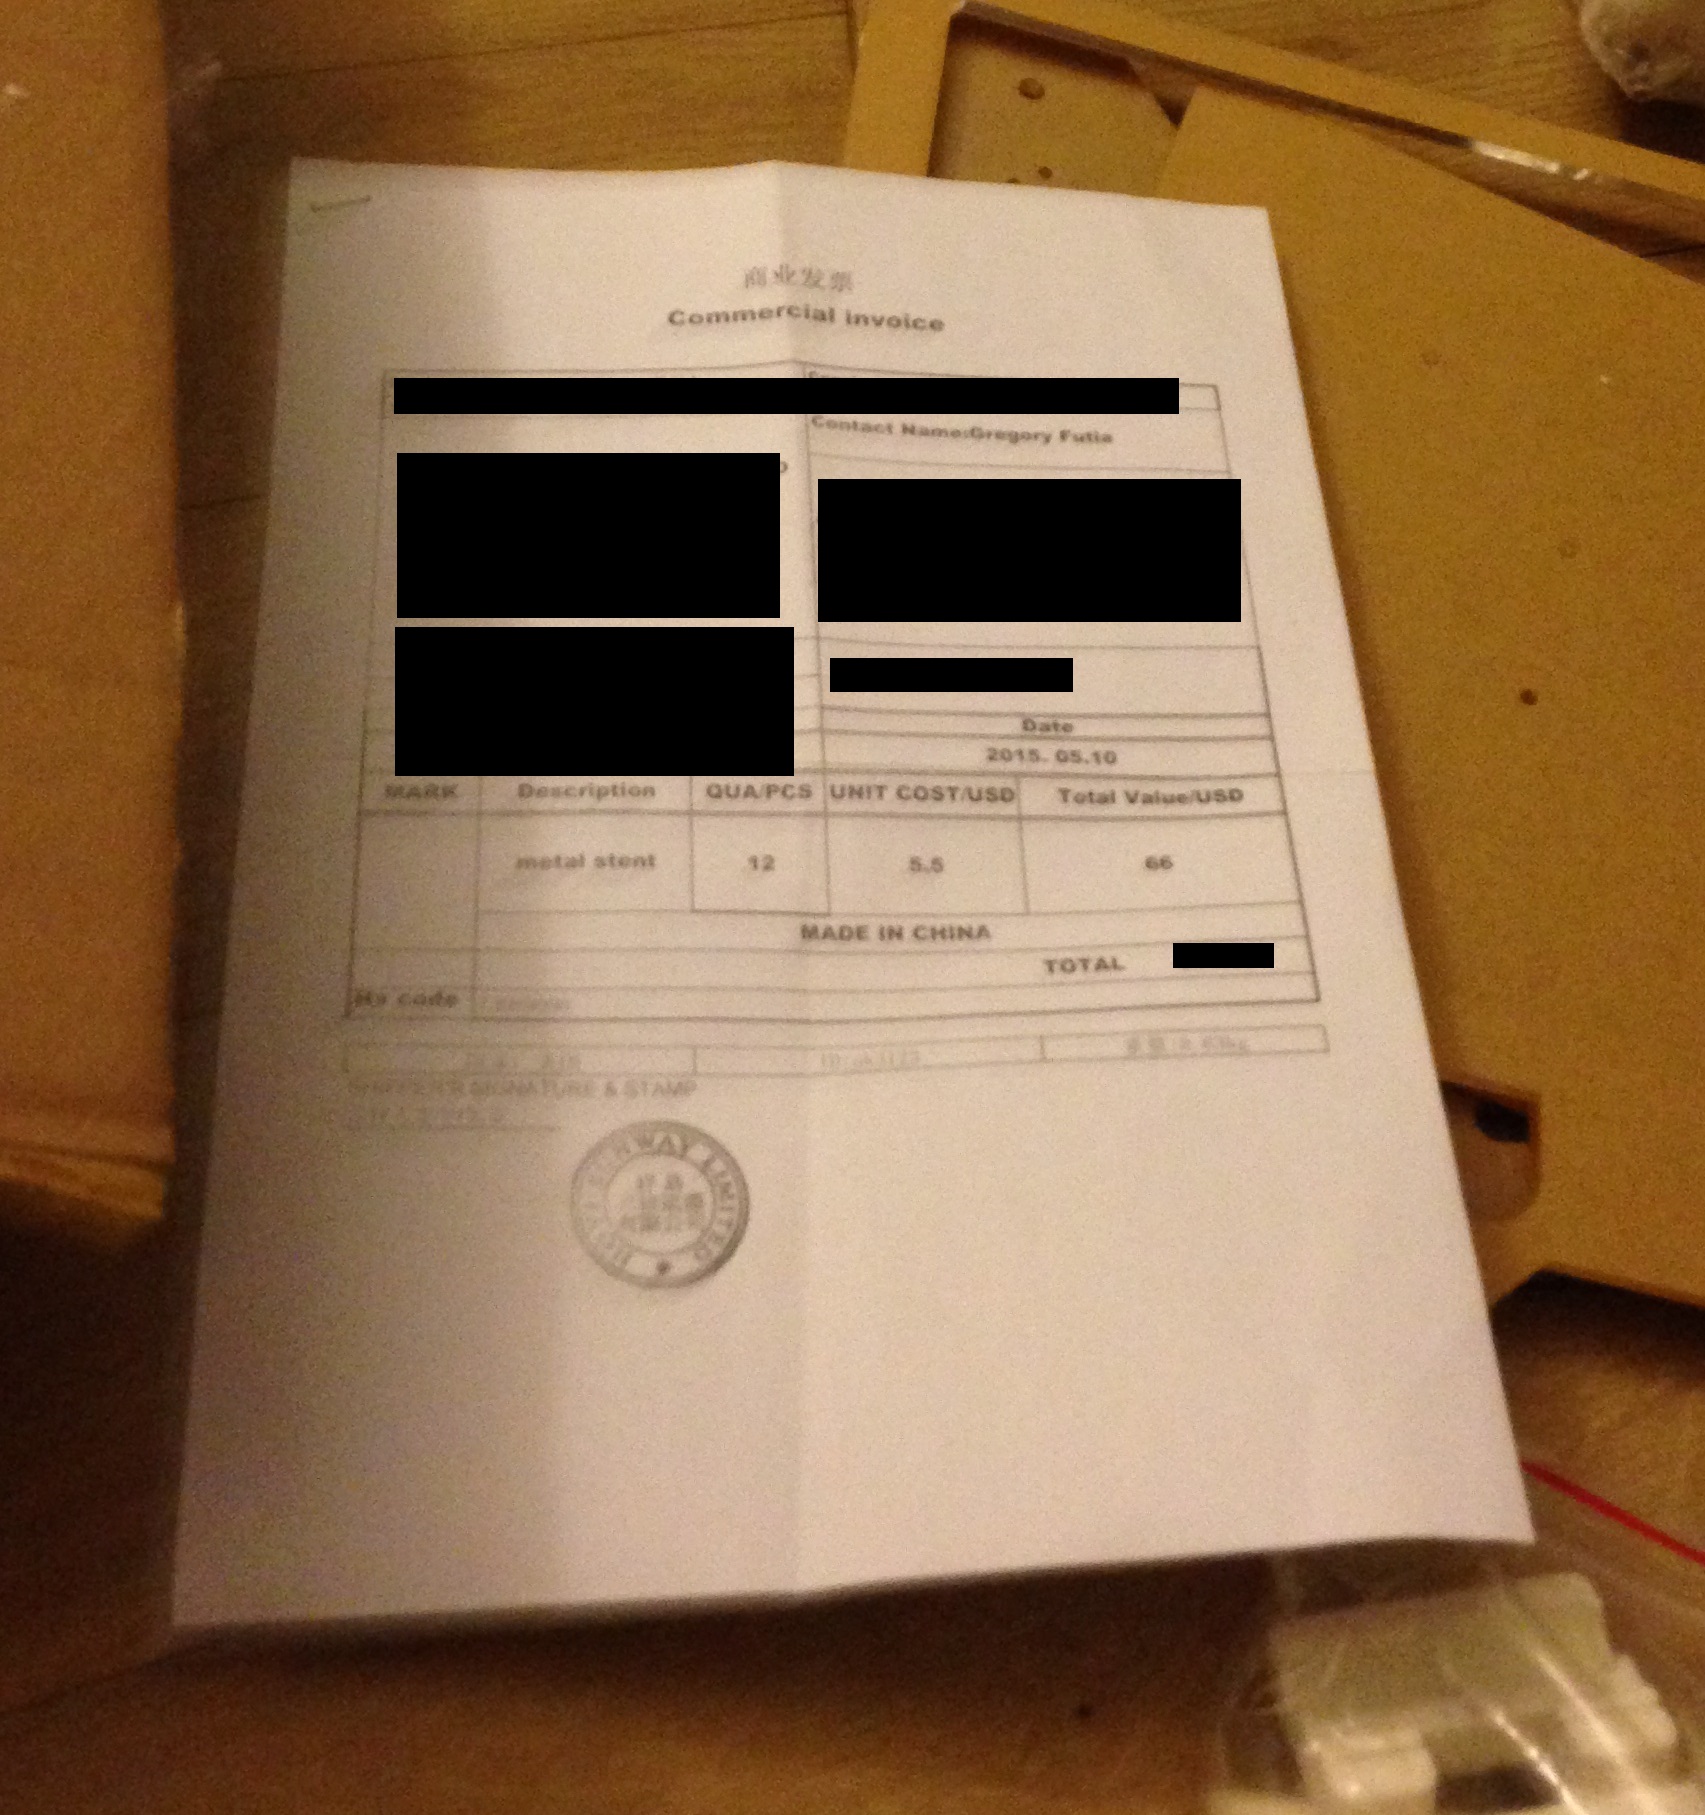
So the box arrived the Thursday after placing the order. The included invoice claimed it as 12 metal stents. There were no instructions included but instructions to e-mail them for instructions.
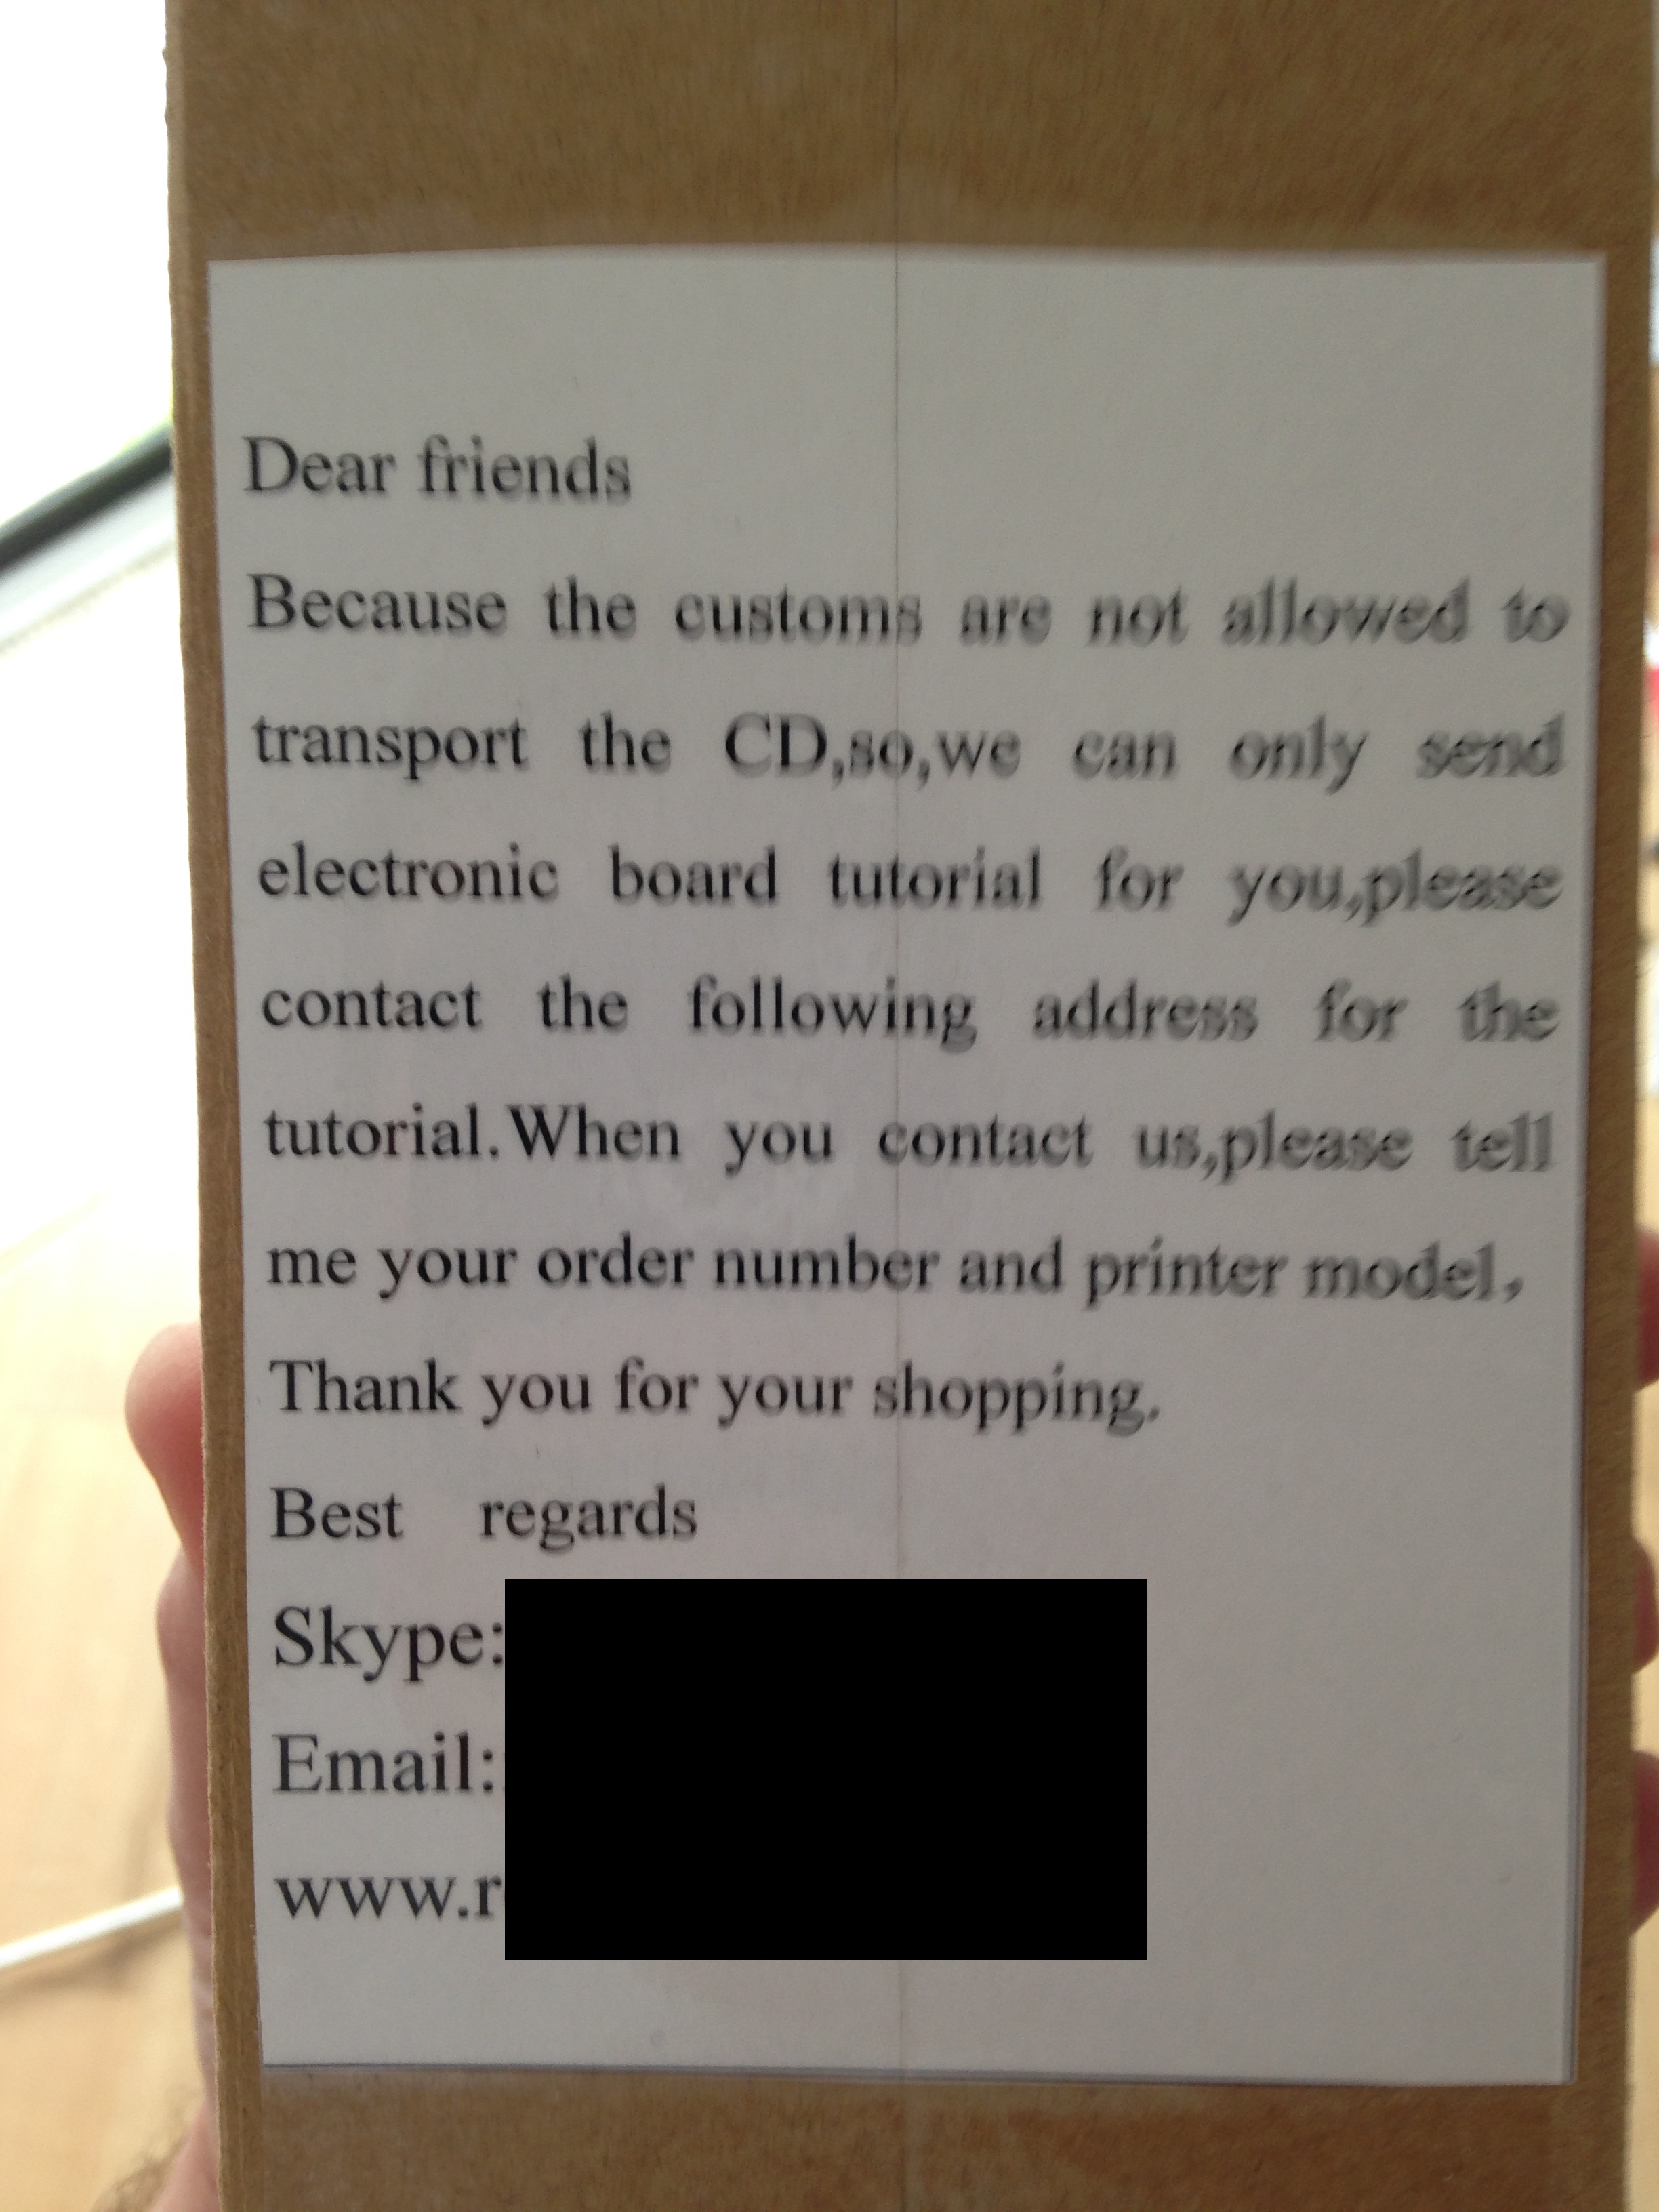
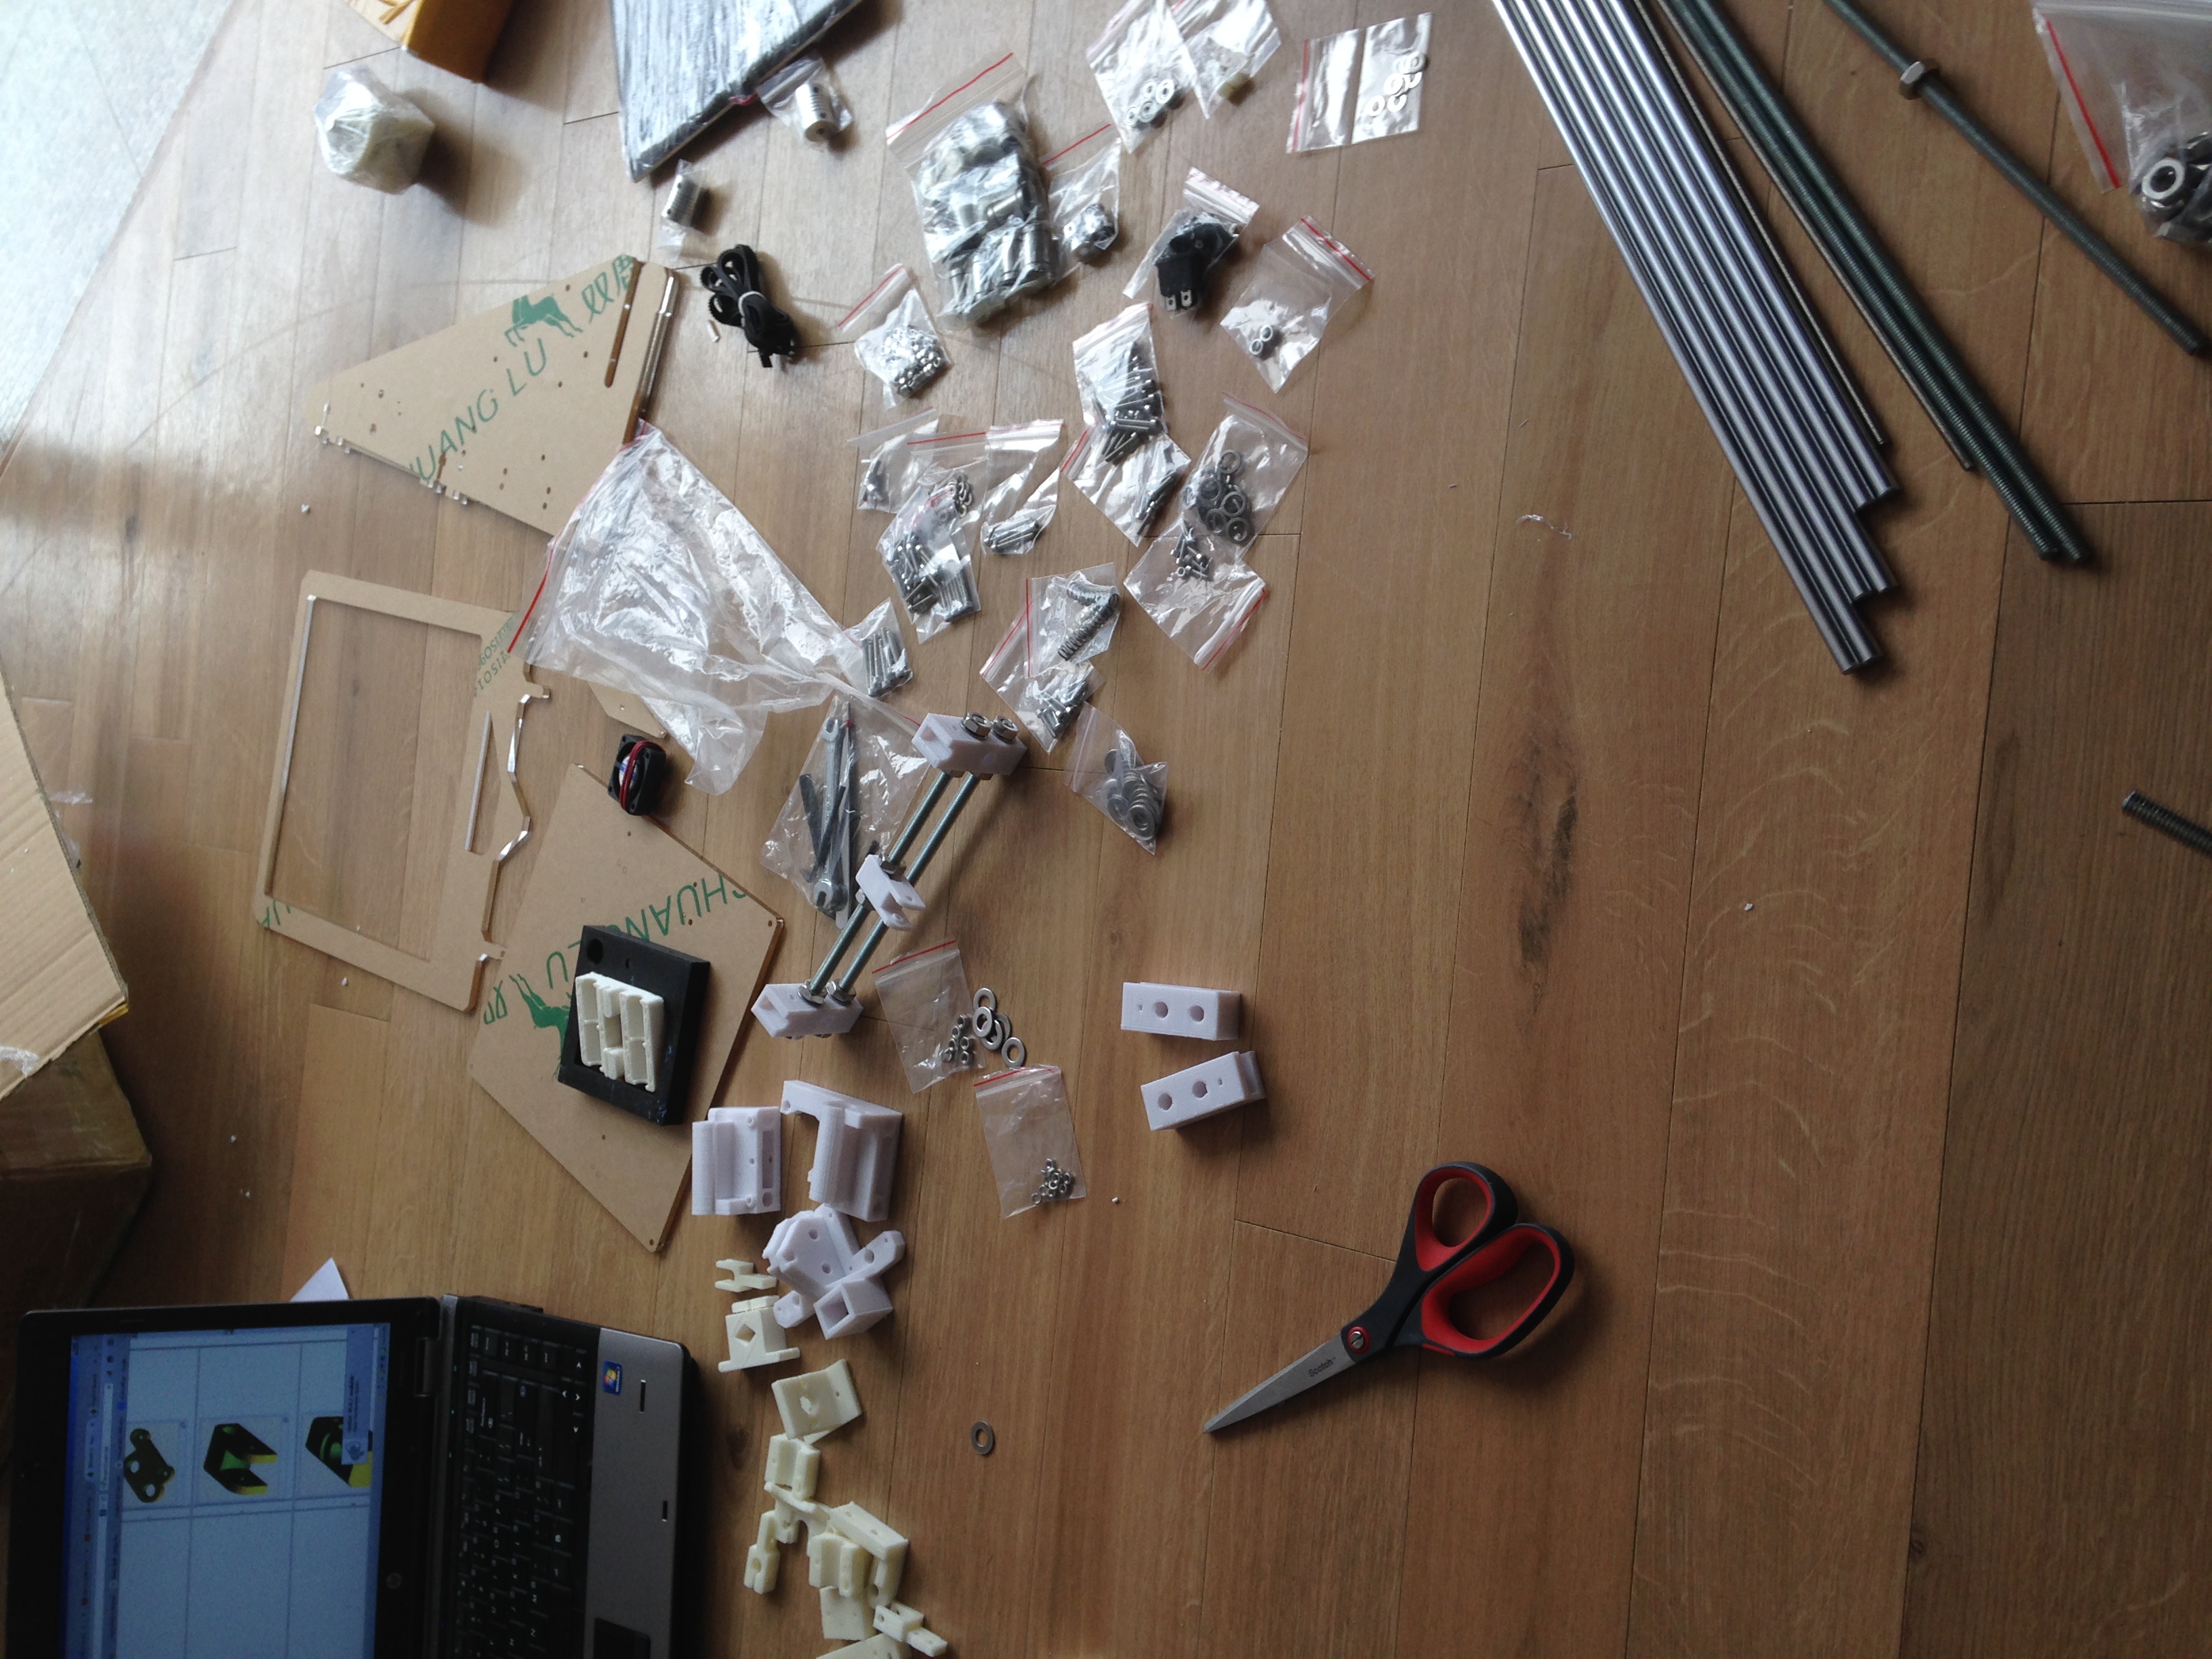
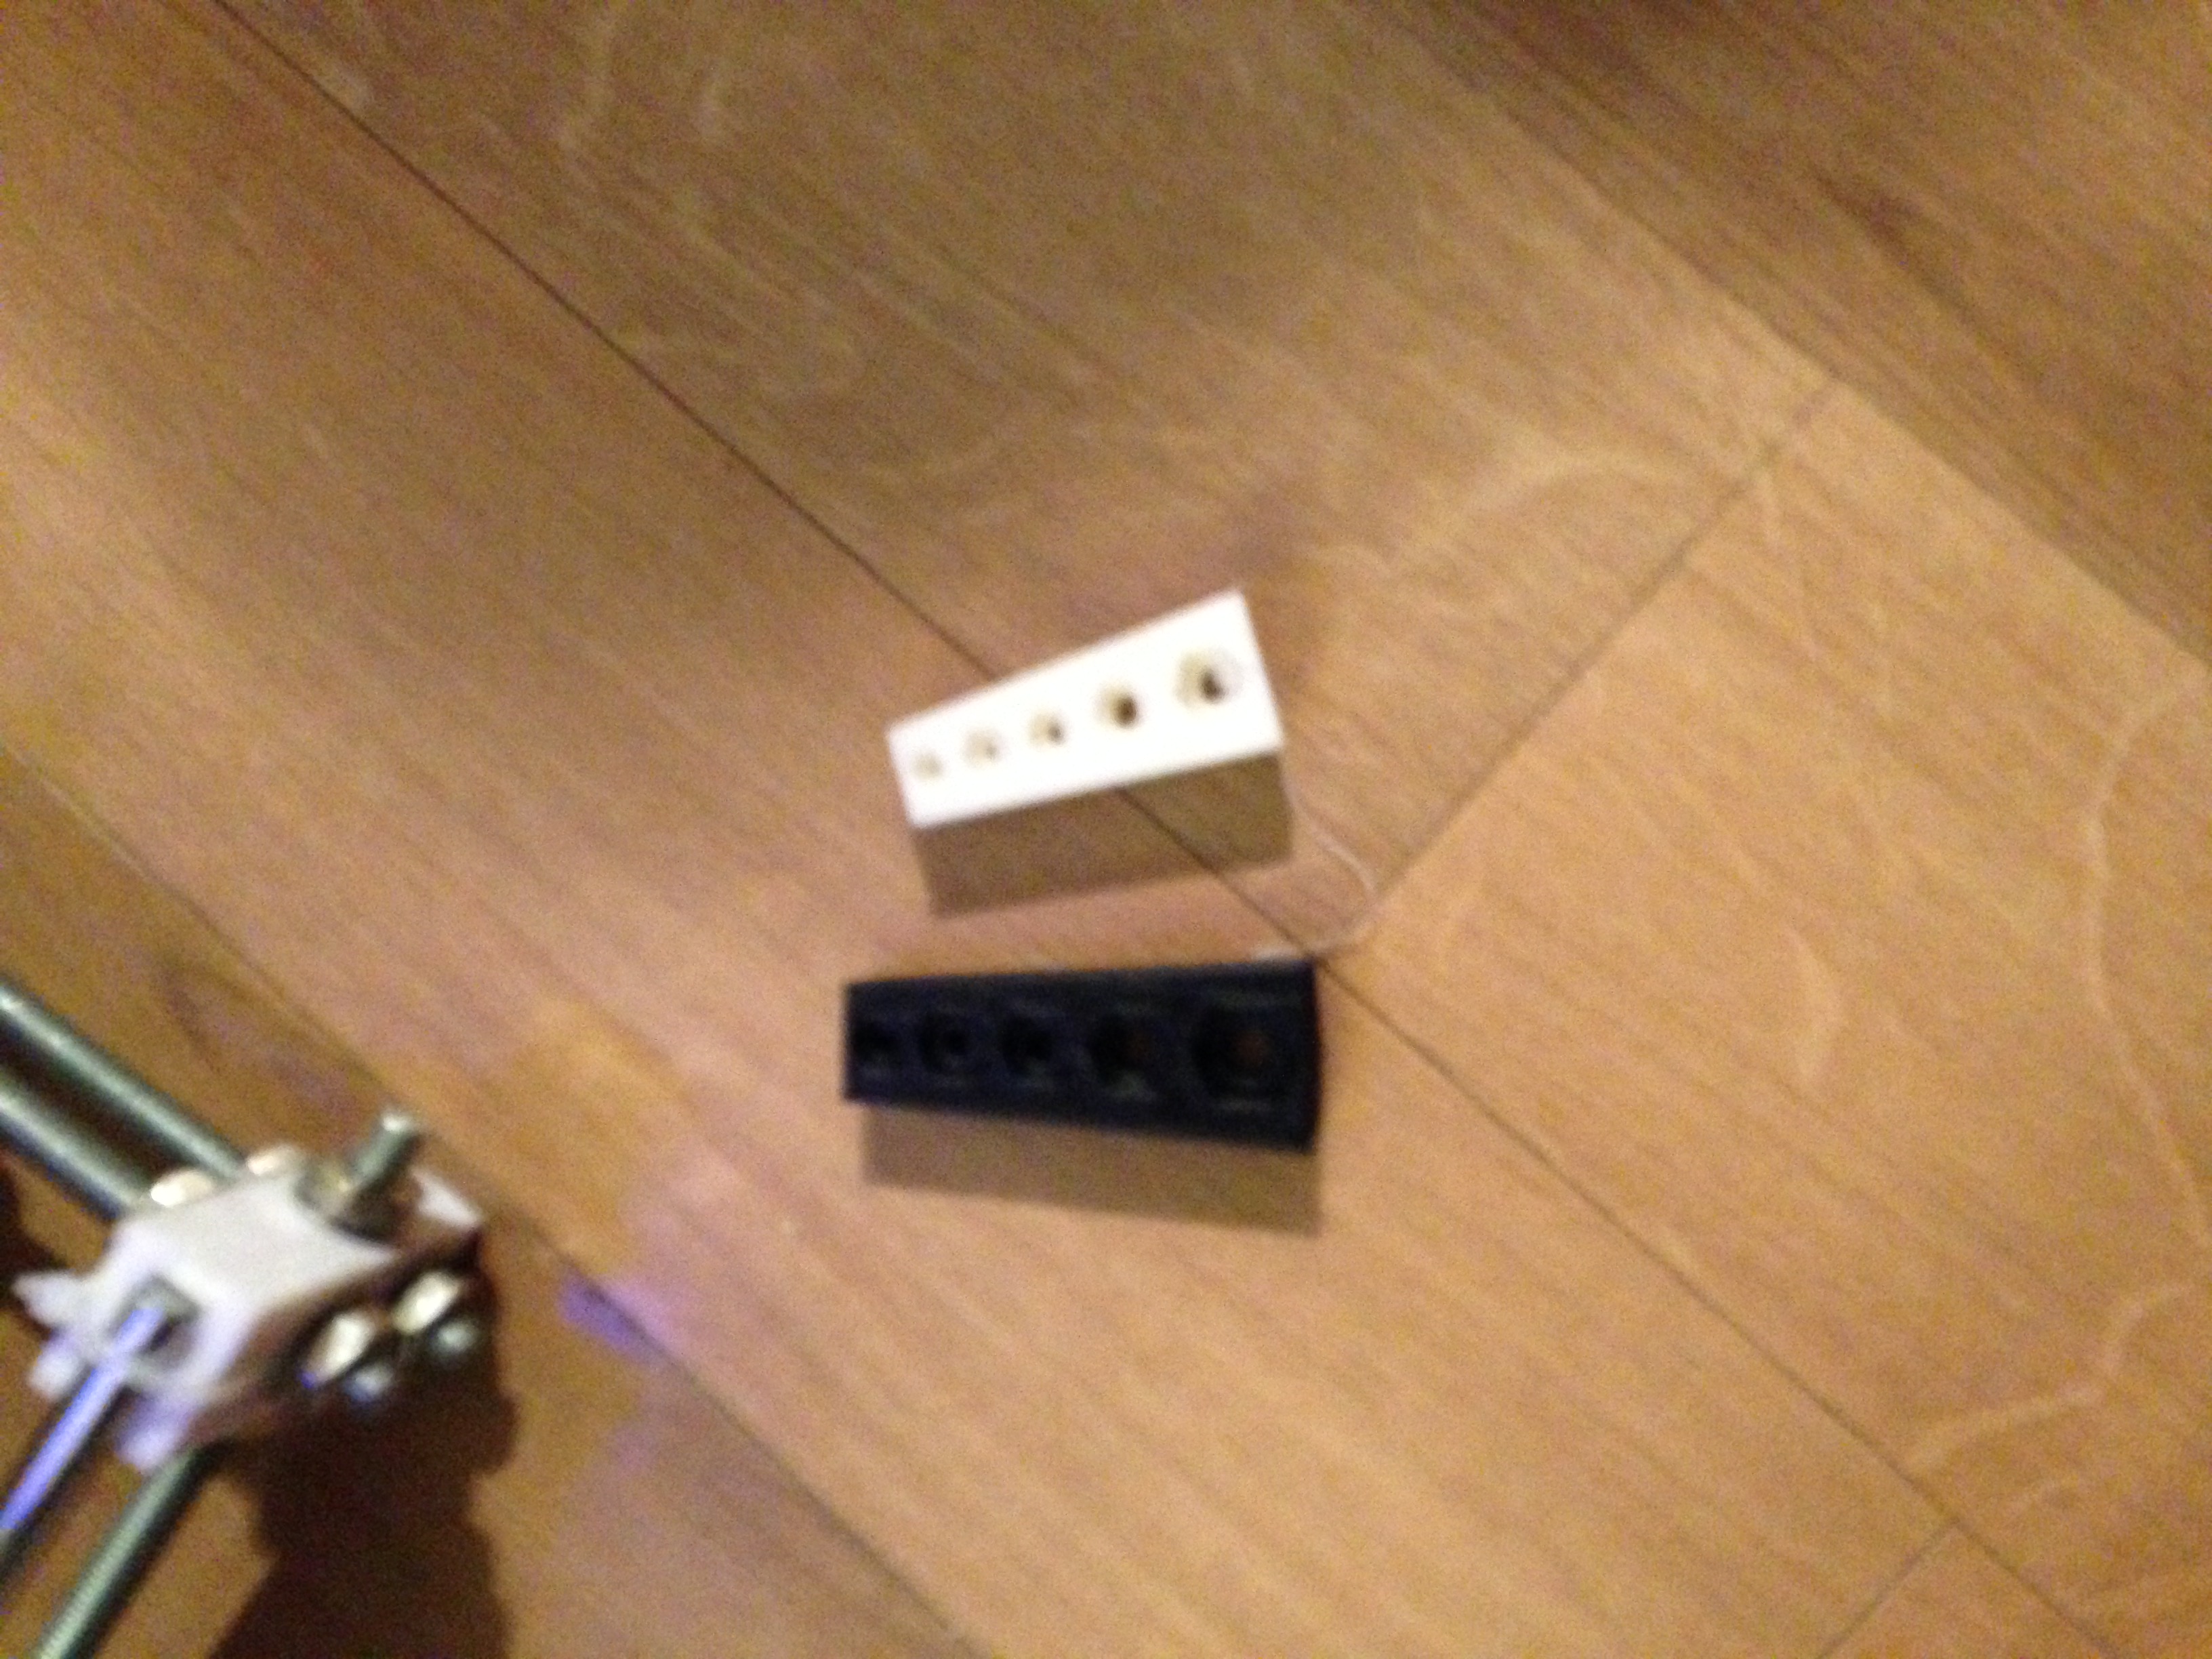
I didn’t notice the letter on how to get instructions until the 2nd day I spent putting it together. The first day I spent trying to do it from i3 assembly videos on you tube in which there are many series. I was able to get the y-axis partially built in the first day but it was clear this design had its specifics that I needed the videos for. I e-mailed them the 2nd day and they replied with links to the videos (12 in all) and other files (circuit diagram, USB driver, test file, slicer configuration) within a few hours. The videos were very helpful for doing the mechanical assembly but not really useful for the wiring but there the circuit diagram really helped and so did looking up the RAMPS circuit diagrams online which it was pretty much identical too. After the first day, I had the y carriage and x-y axis assembled. With the videos, by the end of Sunday, I had mechanical axises together.
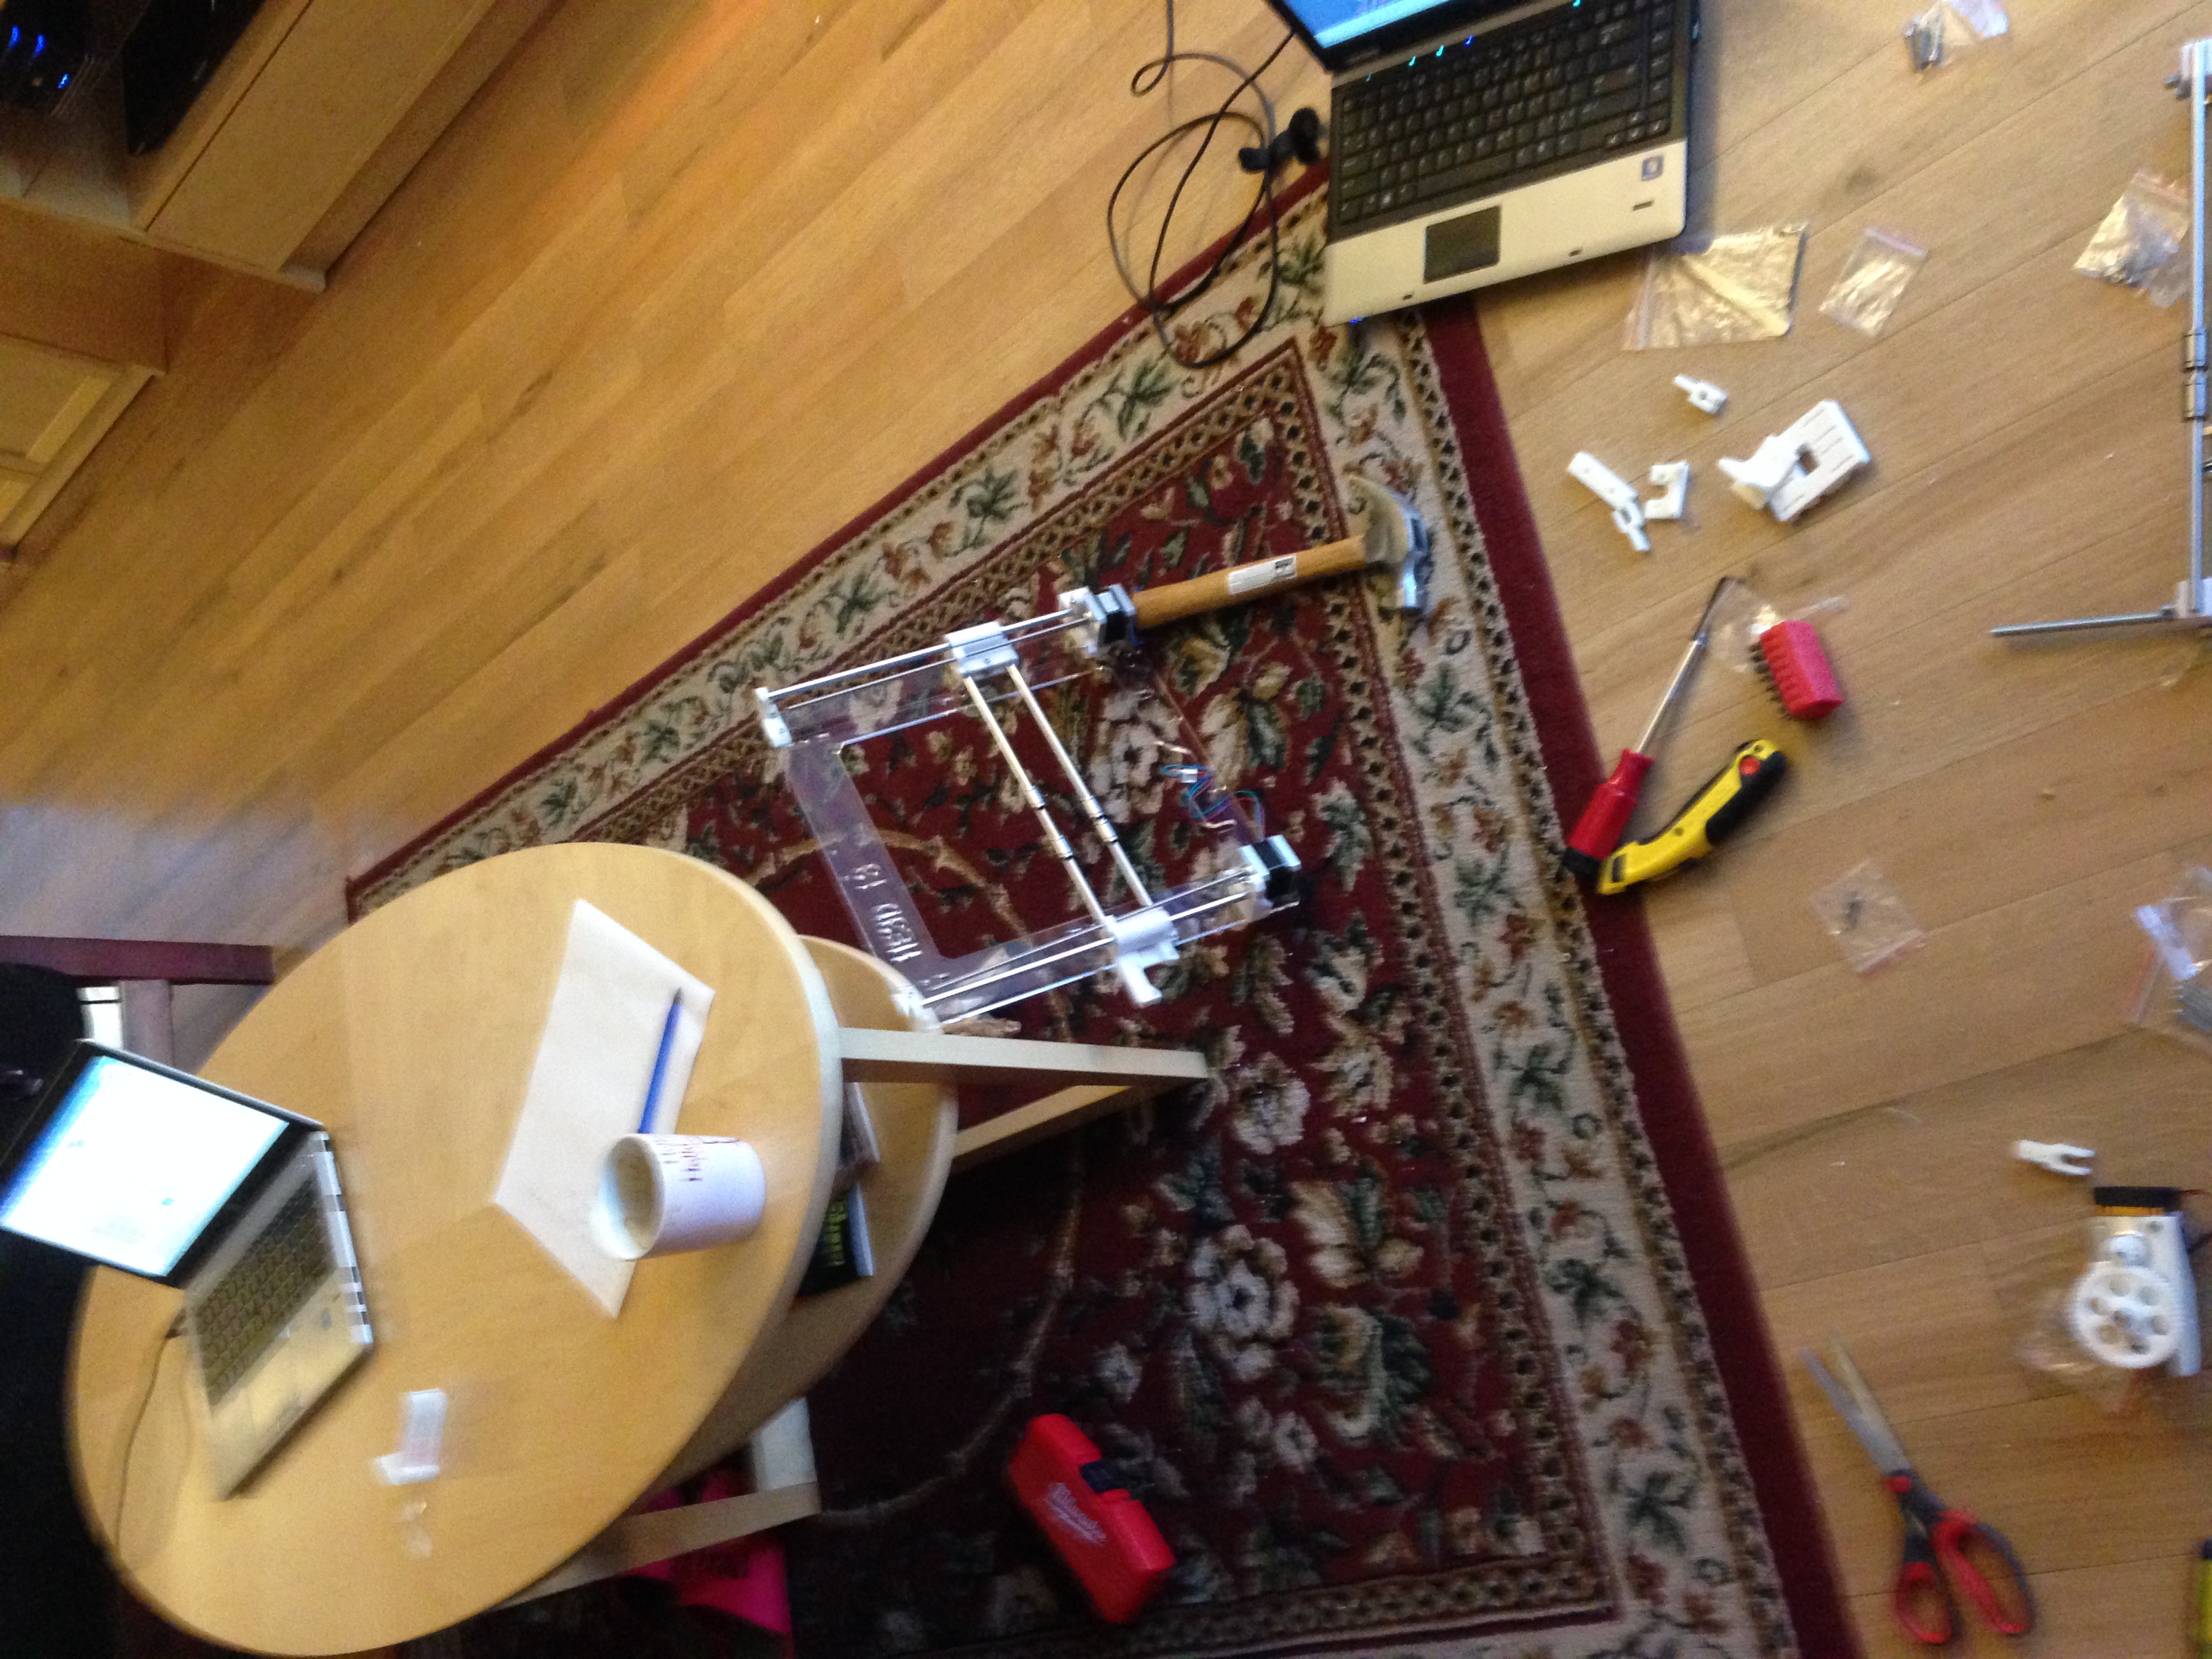
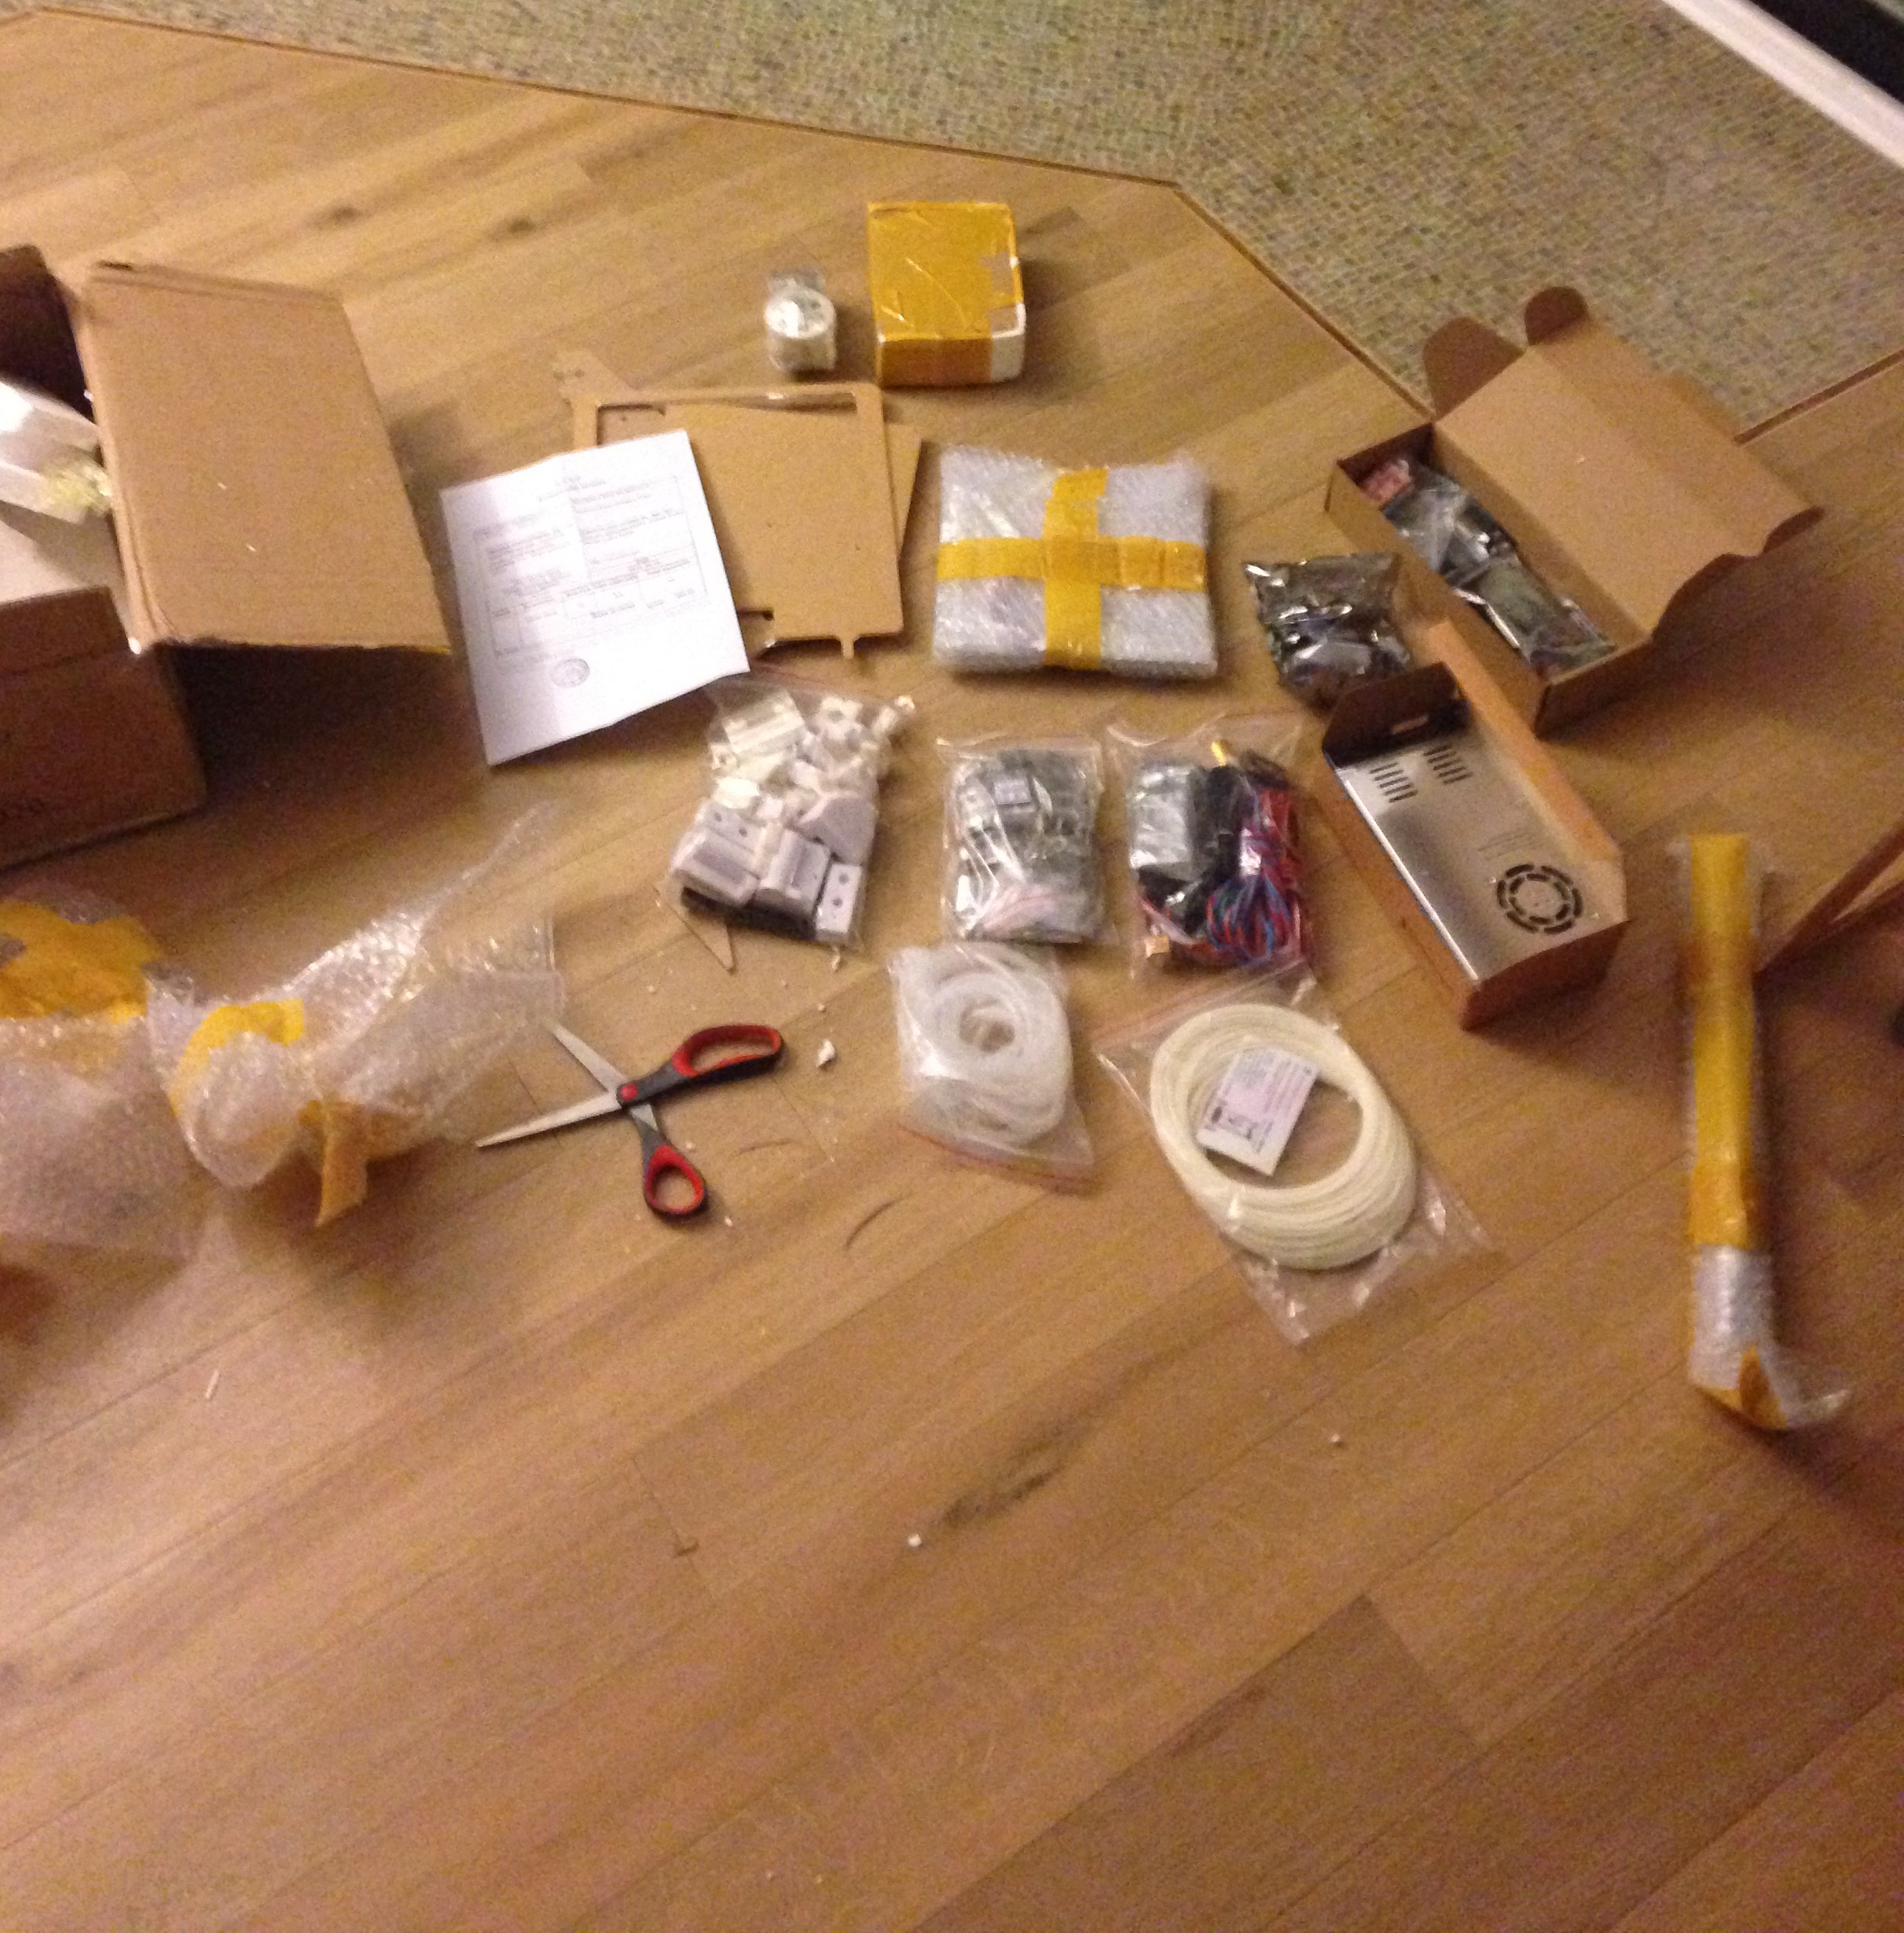
I put the project down during the work week and picked it back up again on Memorial Day weekend to finish the electronics and get it printing. I borrowed a soldering iron from work on Saturday. You can see some of the mess that comes with doing electronics work. I choose to work on the floor vs. on a table so that if I dropped screws they wouldn’t fall to the floor with me having to search for 10 minutes to find them again. My legs, particularly knees, got a little sore working on the floor but maybe that’s a good thing.
When I got to the end of the electronics I decided I should take a picture of all the tools + supplies I used to get to this point so I could put it up here. It’s not too many. You don’t need to have two drill bit sets for example you just need 4 bits but they’re metric (more accessible to the rest of the world but not me in Denver) and harder to get a hold of. You could get by without a soldering iron by using crimps instead.
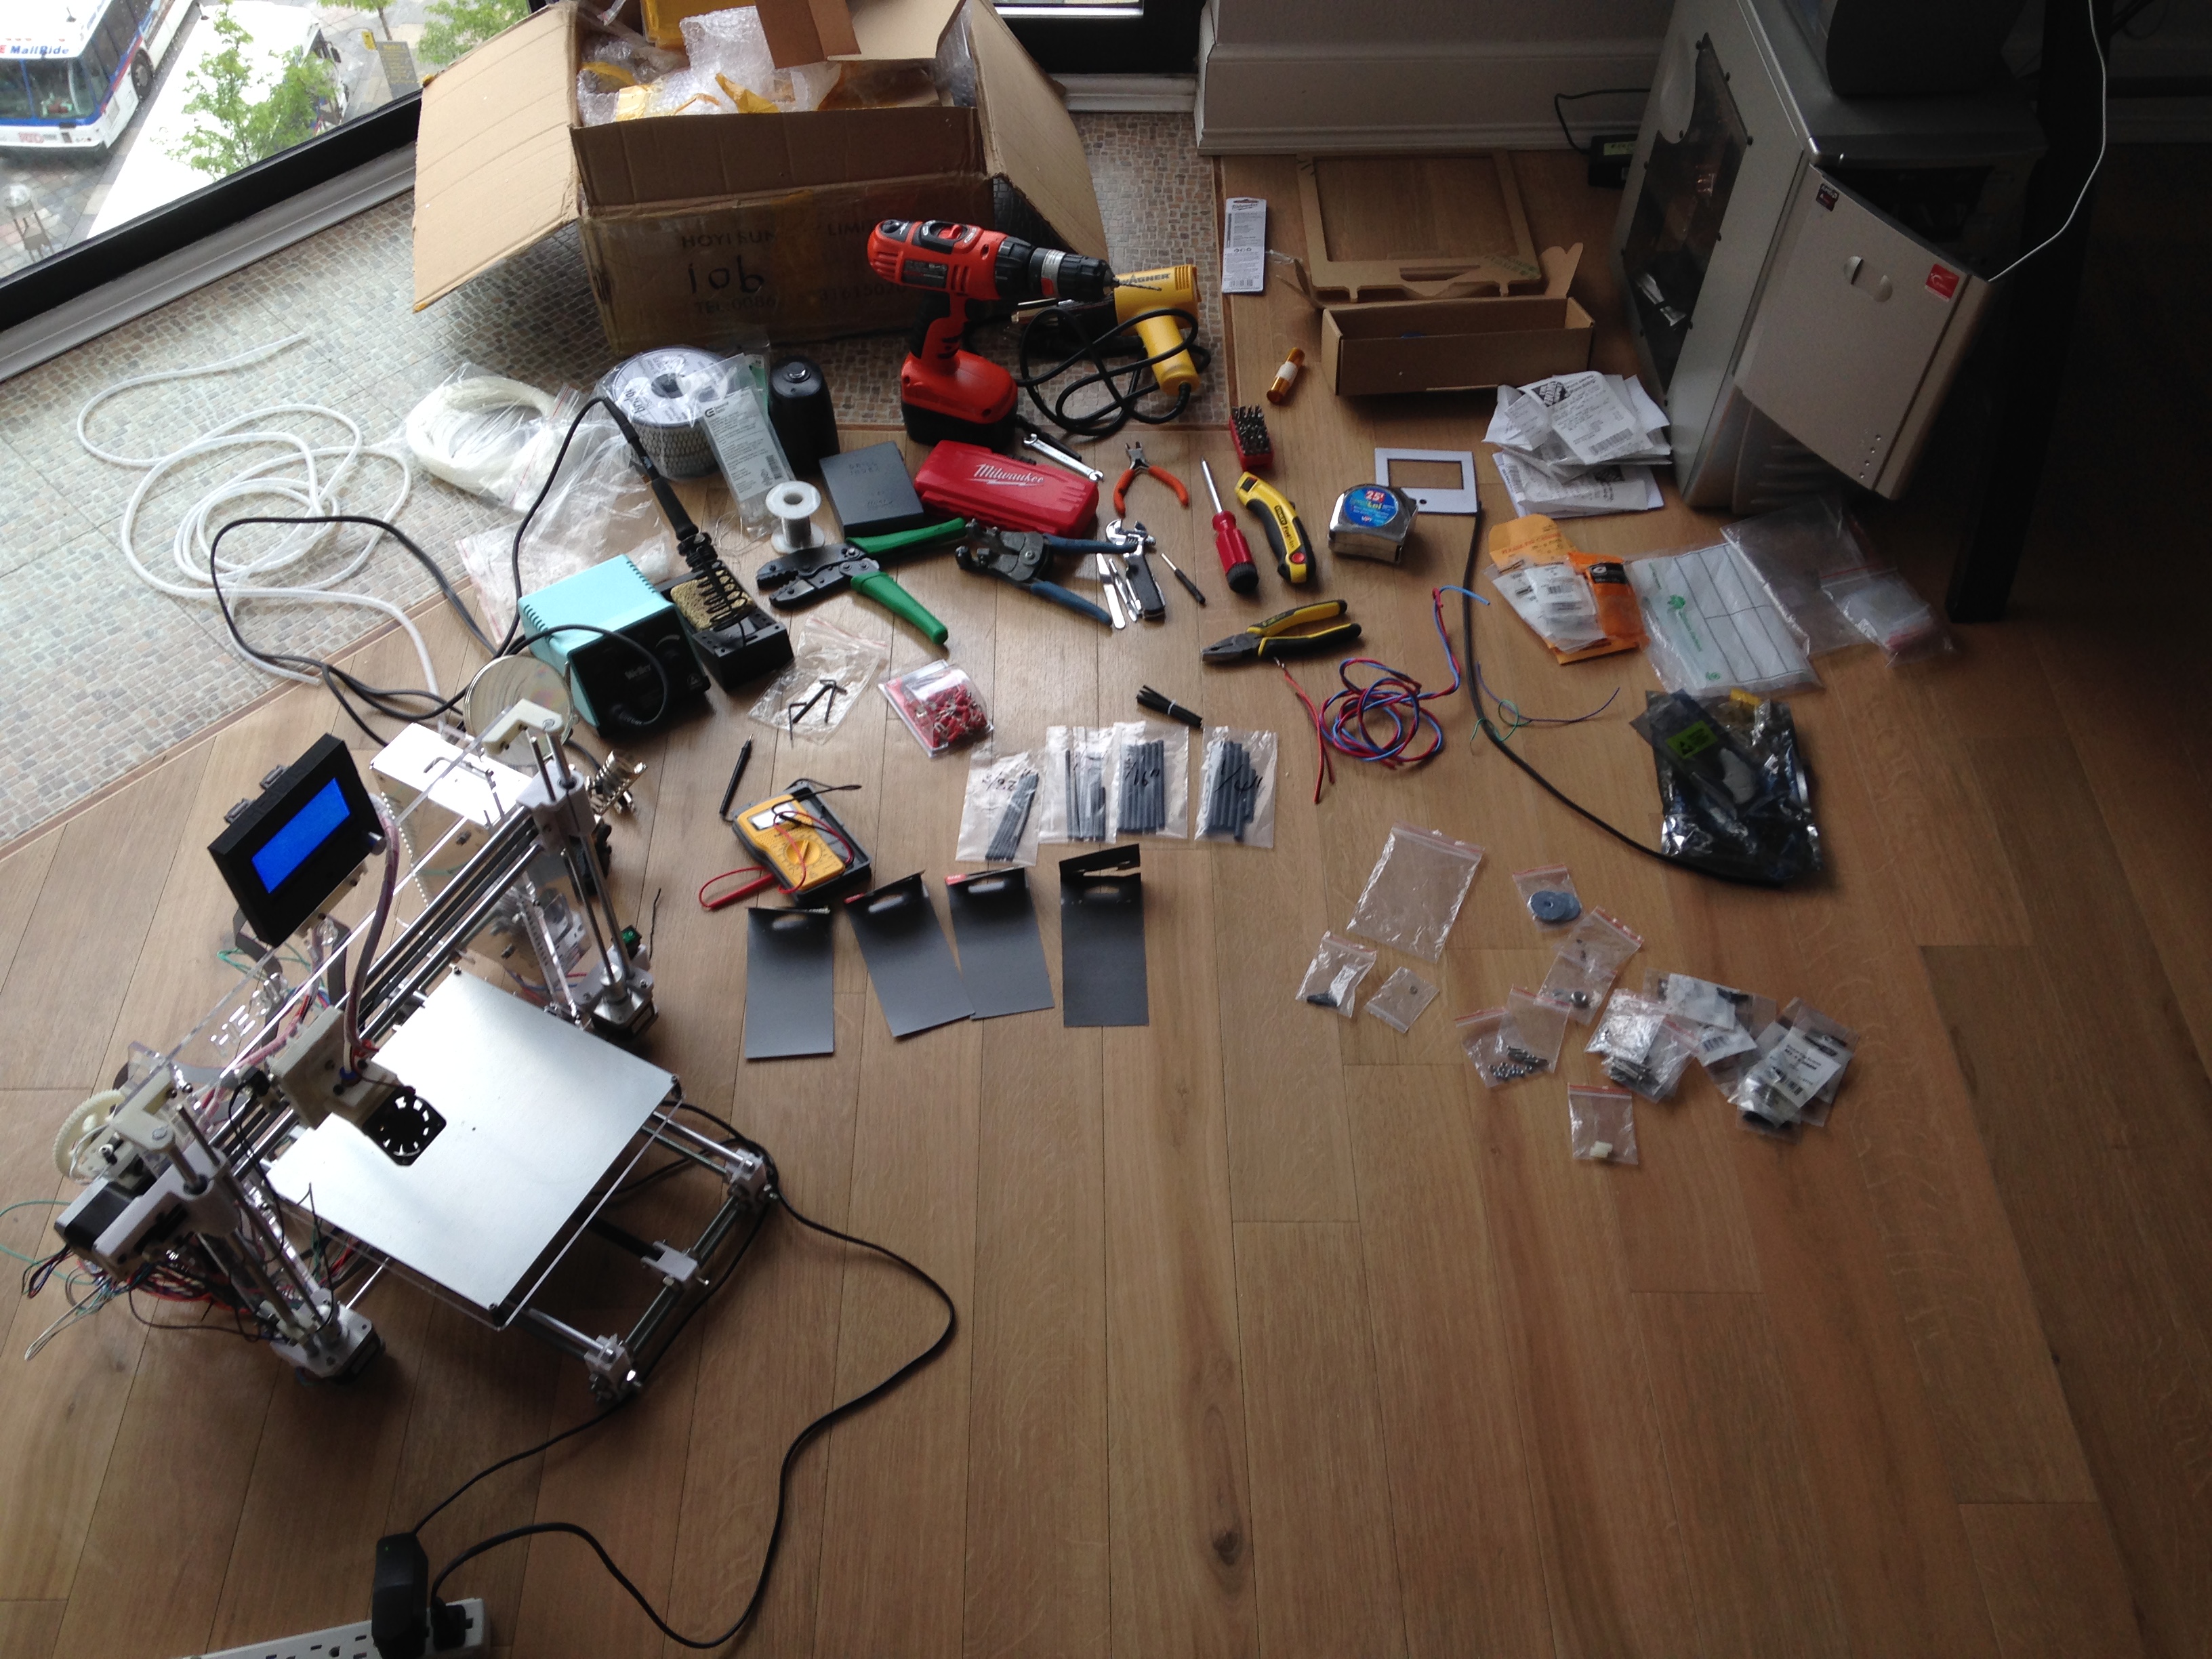
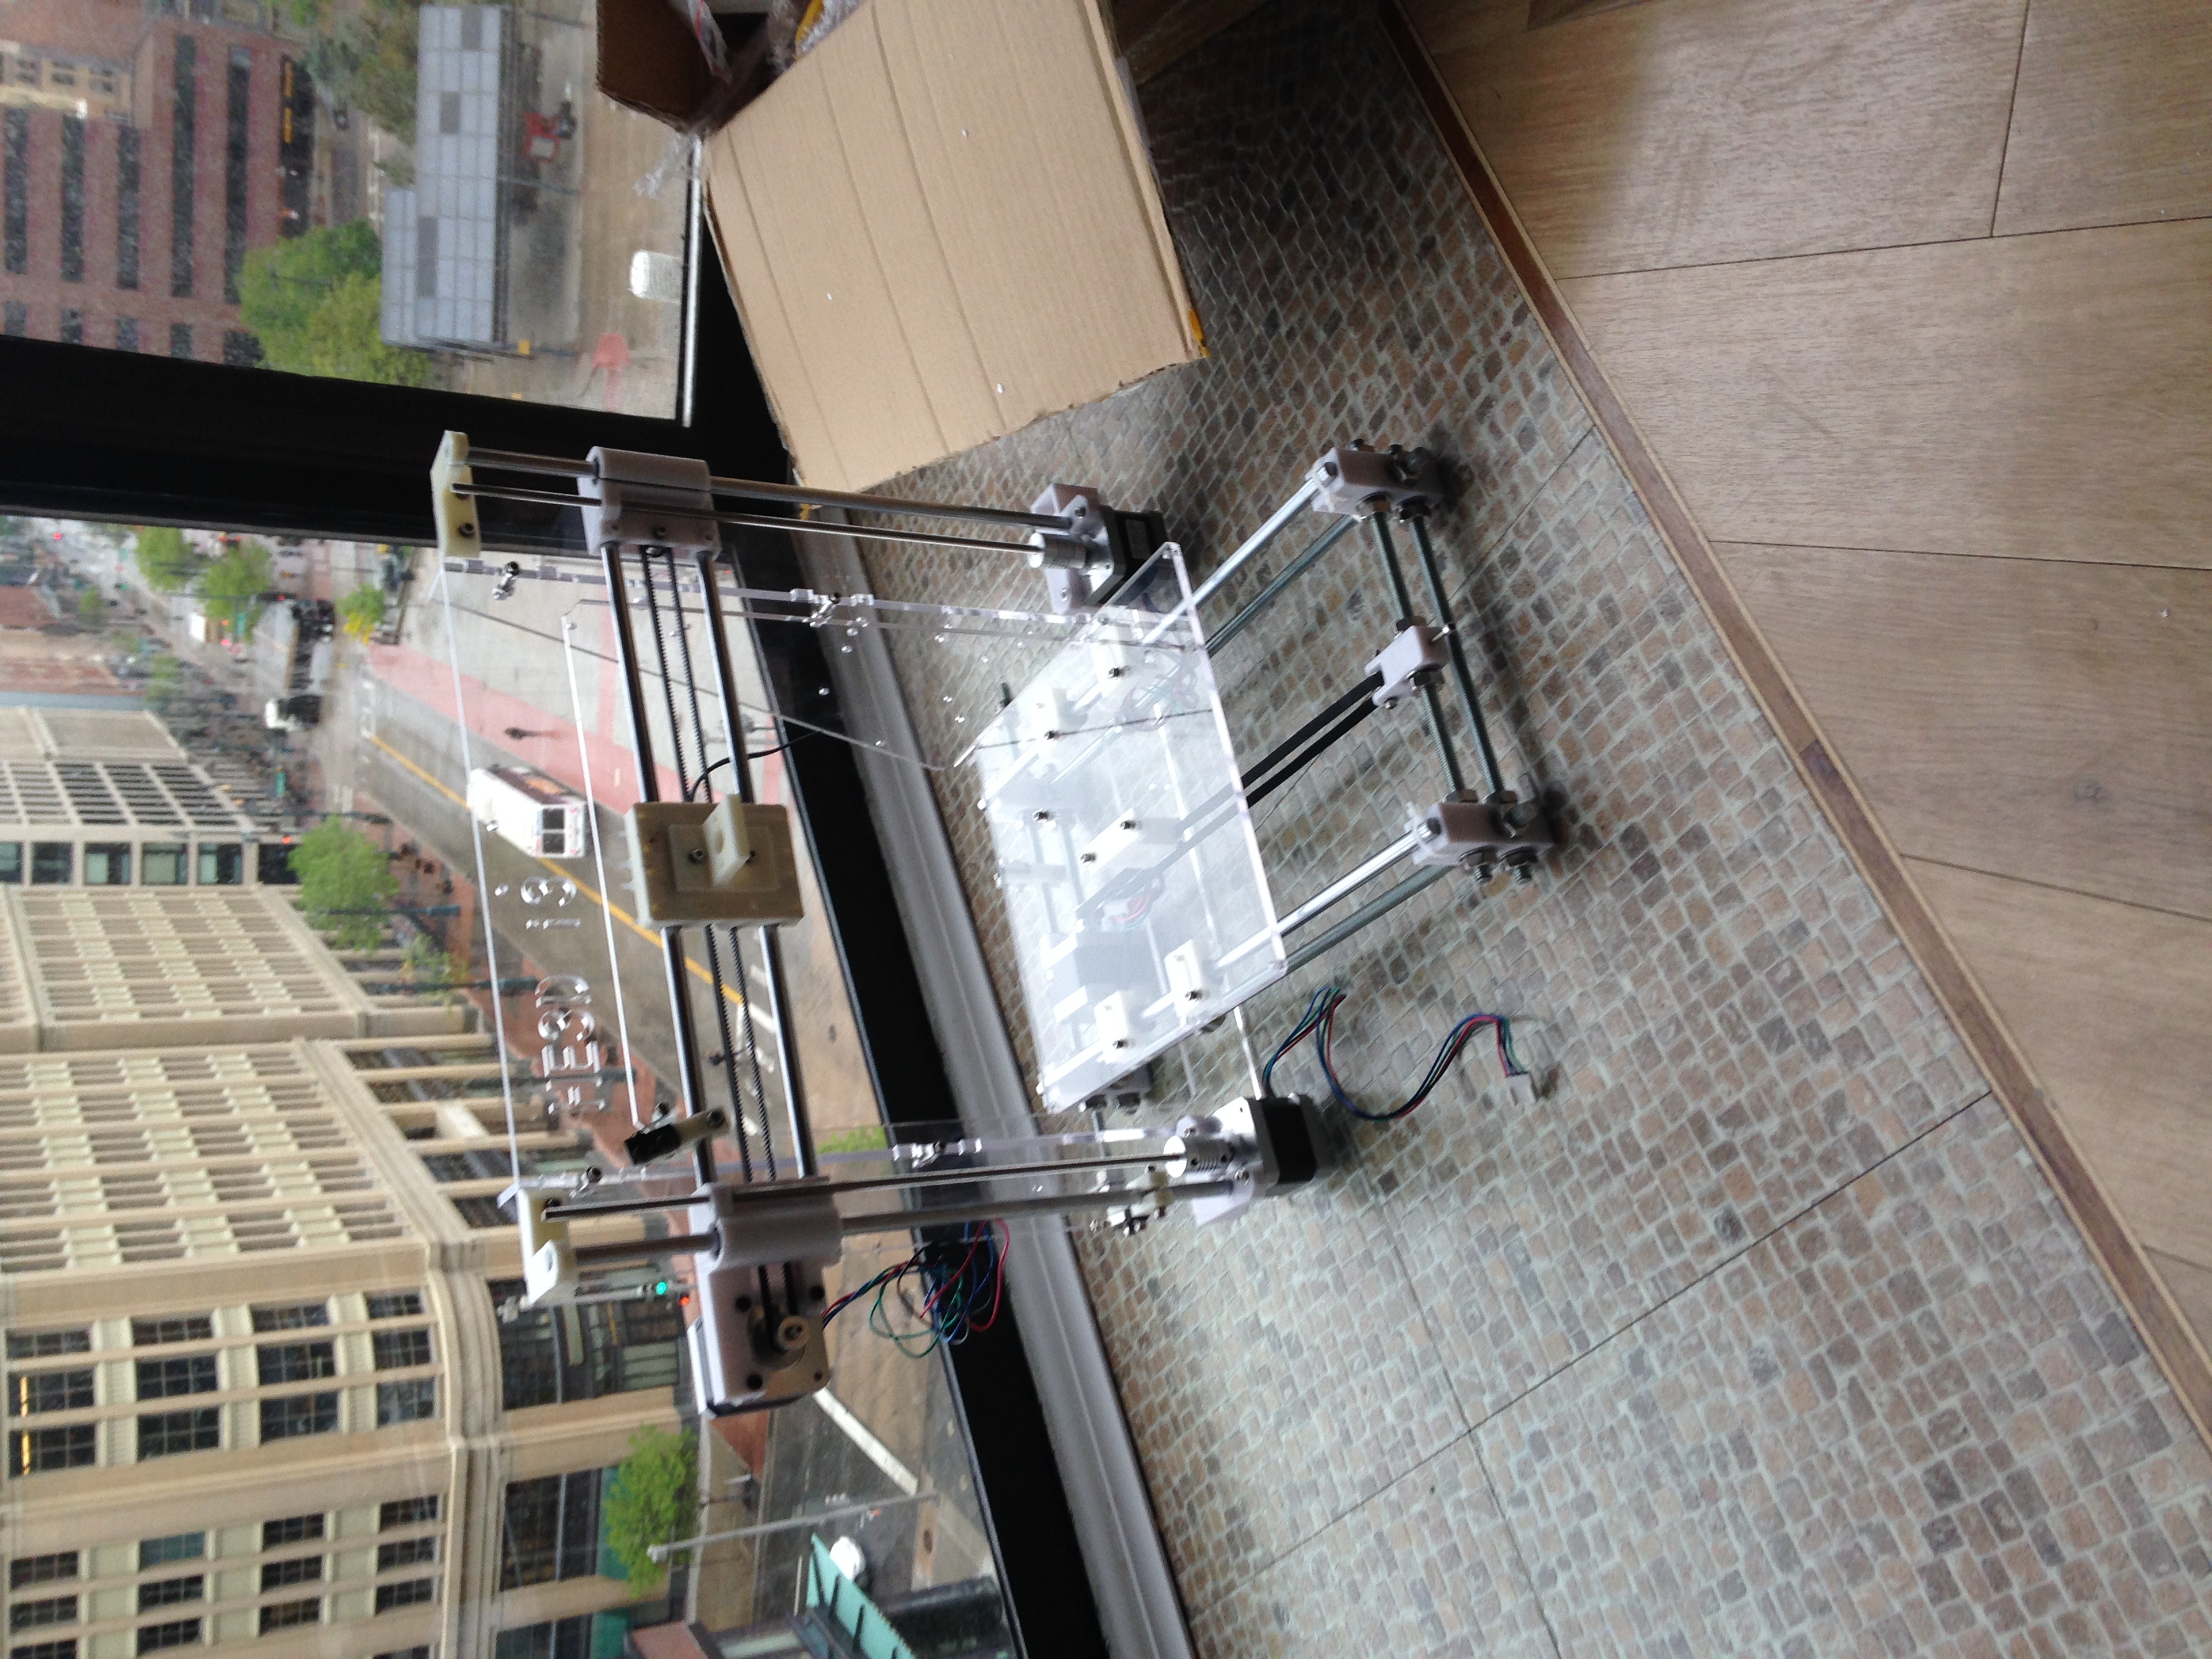
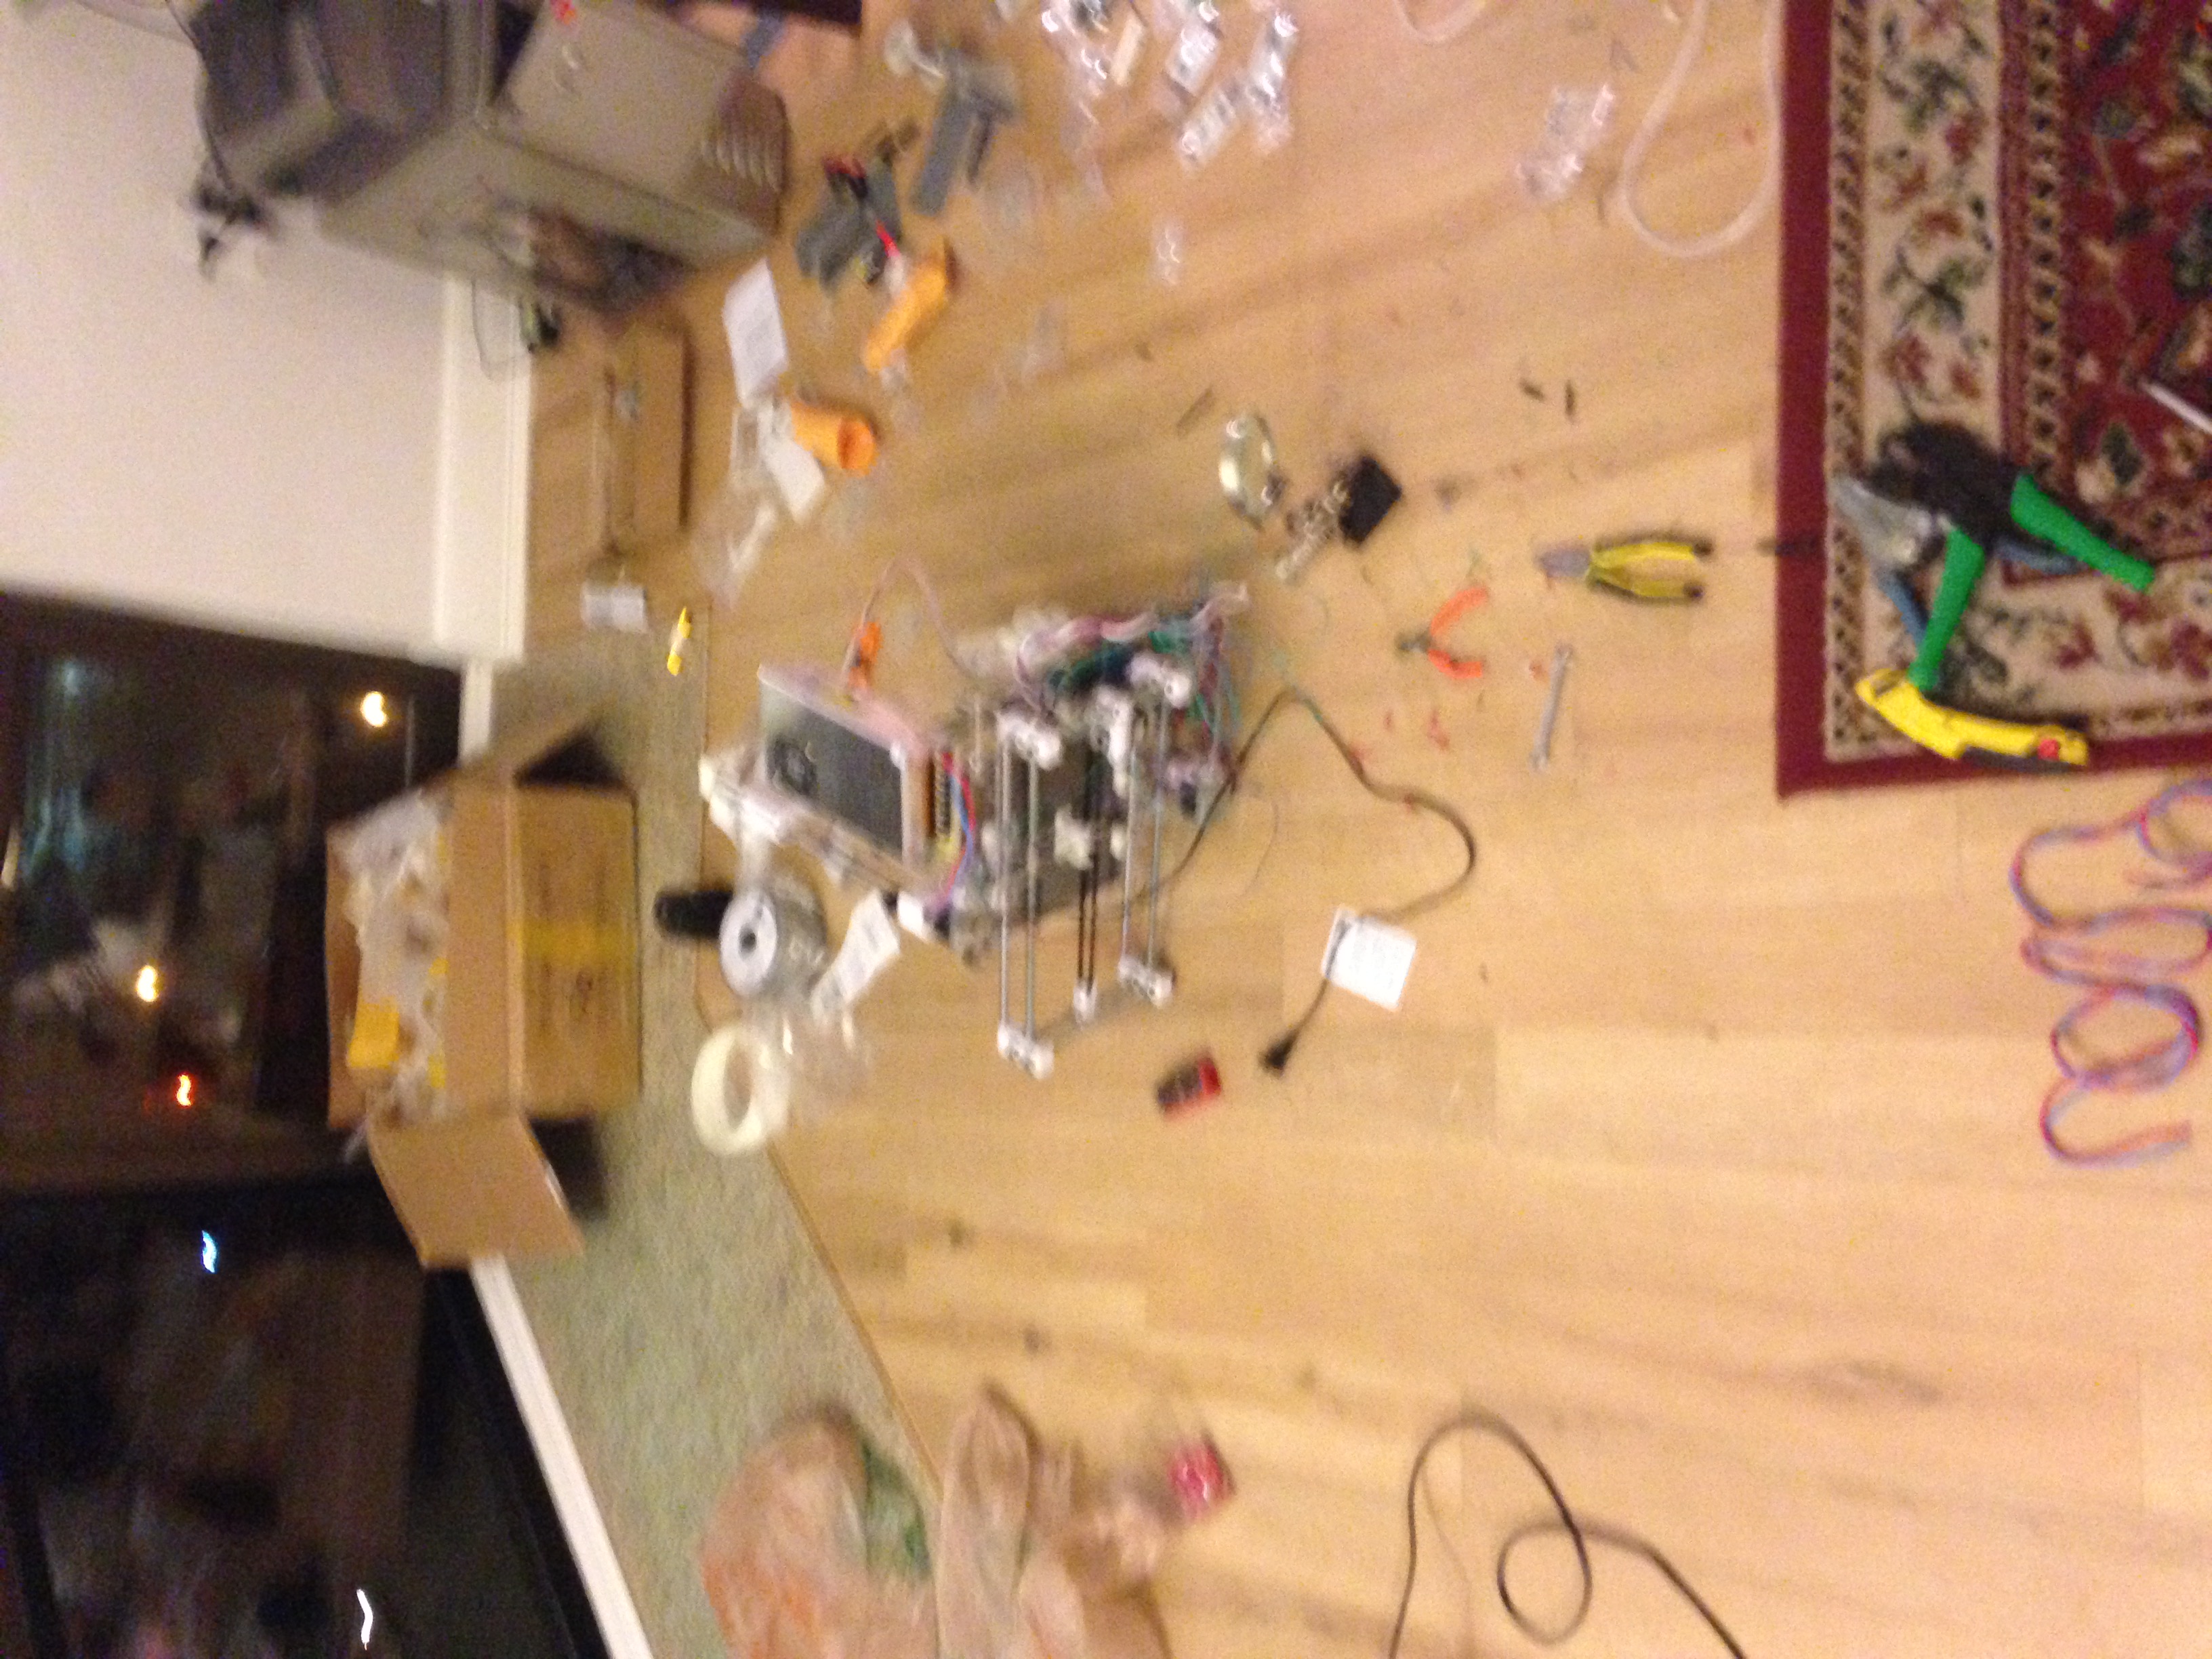
I got the electronics together late in the evening. I smelled something weird (magic smoke leaving electronics) after I powered it up the first day and thought I had burned out the power supply. I looked it over closer the next morning with the digital multimeter (DMM) and found it was fine. I had bridged power to ground accidentally by hooking up one of the end stops wrong (switches so it can sense the end of the end travel) – after swapping it I got it to power up & motors moving. Here is a pic of it making it’s first print by the end of Memorial Day weekend.

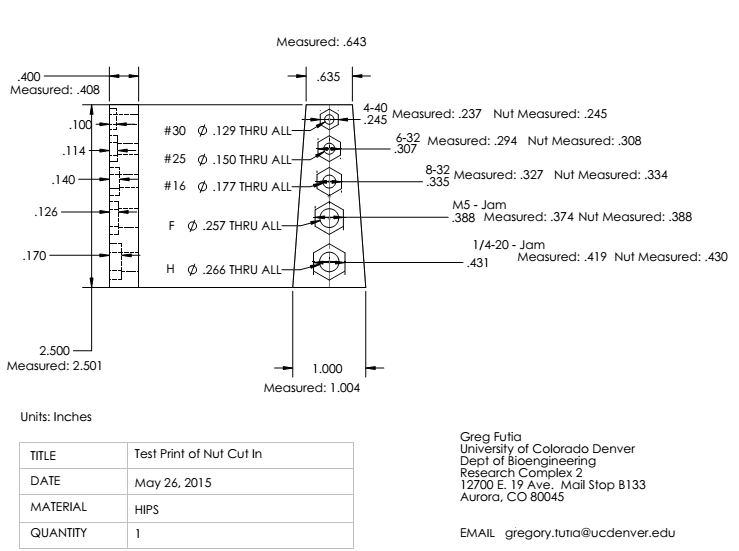
The part is a test of nut cut ins I’ve designed. It was important to test the press fits of the nuts in a servo enclosure for a galvanometer on a laser scanning microscope we are building. Here are the the mechanical design and stl & solid works files if you are interested.
Test Print – Nut Cut In – Rotated.STL
Test Print Design.zip – SolidWorks files and pdf of above drawing.
Those measured values aren’t what I measured on my print though. It came out undersized. Those are the values I measured of this print on a Lulzbot Taz 5 that we setup a weeks ago at work. That assembly only took a few hours vs. 2 weekends for this one but I learned a lot more. I still need to tune the Configuration.h parameters (here is my current Configuration.h 2 weeks better than the one I used here) for my printer I almost surely don’t have the right value for steps per mm set in Marlin. As I’m two weeks removed from this now but have still been working on it, I have gotten better printers and actually know a few things that still need to be done but I’ll put that up in my next post. Here is how that test print looked in comparison to off the Lulzbot Taz 5 at work. This post is getting kinda long so more to come on tweaks and tuning.