Polycarbonate is a thermoplastic known for its strength, transparancy and wide ranging thermocompatilbity. It is also probably the most readily accessible filament that can hold up to sterilization though autoclaving. These properties have lead to wide range use of polycarbonate in industry from things ranging from fighter jet cockpit canopies, bulletproof vests, and compact discs (CDs), as just a few examples.
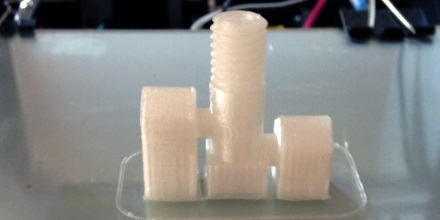
I have been interested in prototyping fluidic parts in polycarbonate for it’s transparency, strength, and possibility for autoclaving. I have autoclaved a few test parts and haven’t seen any problems with deformation. Printing wise, the results I’m getting are starting to be pretty good (bellow), these are square parts from good bed adhesion, that don’t laminate and are somewhat transparent. Here I will share how I’m getting them on my P3Steel.

I looked for guides when I got started with 3D printing a little more than a year ago and found Richrap’s guide. He got results and compares strength characteristics. Tom Sanladerer also has a video about it. I am writing this guide thinking of my knowledge I had before for I started 3D printing with the hope others will find it useful.
Main theme is polycarbonate printing wants heat, heat, and more heat
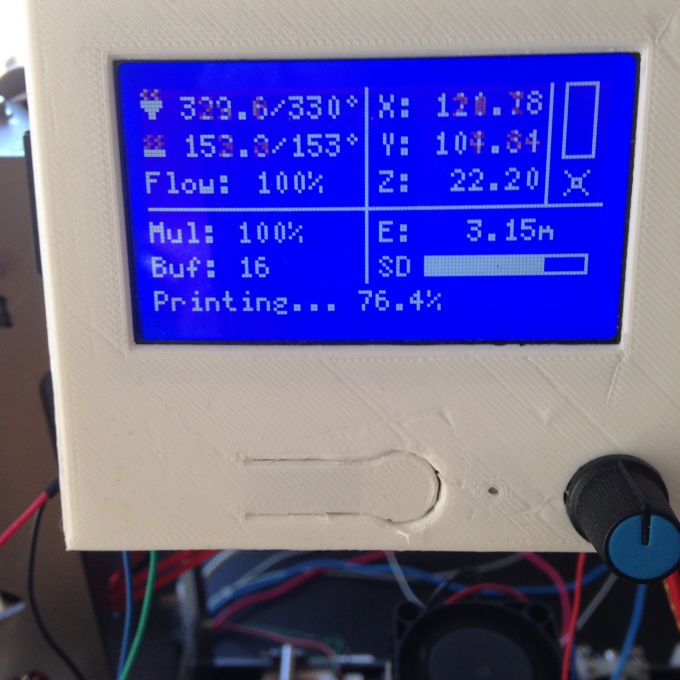
I’ve sourced my Gizmodorks Polycarboante from Amazon.com. There it’s printing temperature is listed at 255-300 C. Guidance is given for keeping the filament dry but no guidance is given on bed temperatures. I’ve been getting my best results with a 330 Deg C hot end and a 153 degrees C on the bed. I’d like to push the hot end temp up even further.
Getting good bed adhesion
I’ve found this stuff likes a very hot bed and and wants to be extruded at high temperature at least by RepRap standards. I’ve been printing onto a 1/8″ glass substrate with the bed temperature at 153 Deg C. It’s not that I started at 153 it’s been a gradual increase of bed temperature to prevent edge curling and for part adhesion. In addition I also brush the bed with Wolf Bite Mega before printing. It’s been a combination of the high bed temperatures and the Wolf Bite that has gotten me to good bed adhesion. These parts come right off too as the bed curls and are easily removed, similar to PEI for ABS, when the bed is cool.
You might say, 153 C on the bed seems a little excessive and or your printer might not be able to hit 153 on the bed. My findings have been filaments stick the a bed best at temperature that is around or slightly above their glass transition temperature. For polycarbonate this is about 150 deg C, perhaps it’s the wolf bite that gets us to the last bit.
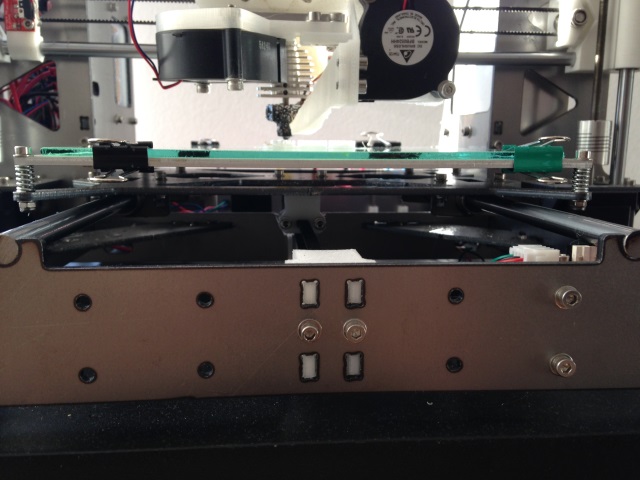
Hitting 153 C on the bed
Secondly hitting 153 C on the bed requires a printer without plastic around the bed. I first tried pushing the temp on the bed on my HE3D and totally warped the acrylic that was supporting it. I realized then I needed a printer that didn’t have plastic supporting the bed and also came across the P3Steel design. This laser cut steel frame is really a great solution. It’s all metal between the aluminum heated bed and the smooth rod. If you in the market for a 3D printer with the thought of 3D printing polycarbonate I’d encourage you to go for a P3Steel. I built mine from scratch but you can also get a reasonably priced kit Oballo Printing for ~$500. Looking back I wished I did this instead of the HE3D i3 kit for $360, although I have learned a lot along the way.
We need power: Low Resistance (1.6 Ω) Bed, 24 V electronics, and 700 W power supply, relay or FET upgraded ramps
A metal frame will allow you to get to 153 C without your bed bending. You still need the power. I stumbled upon this solution. I ordered my MK3 heated bed from Aliexpress and it came in with a resistance of 1.6 Ω on the 24 V connection which is much lower than typical. This overdrew my 350 W power supply and caused the 24 output to wander around between 20 and 24 V. It was operational but the temp was unstable since my bed was consuming 360 Watts alone. I tried being cheap and getting 700 W PSUs from aliexpress but they appeared to be underpowered and voltage still fluctuated. Ultimately I shelled out the $170 for a MeanWell from mouser and it’s been stable holding at 24 V throughout the print. This low resistance bed means it takes about 2 minutes to bring it up to ~153 deg C.
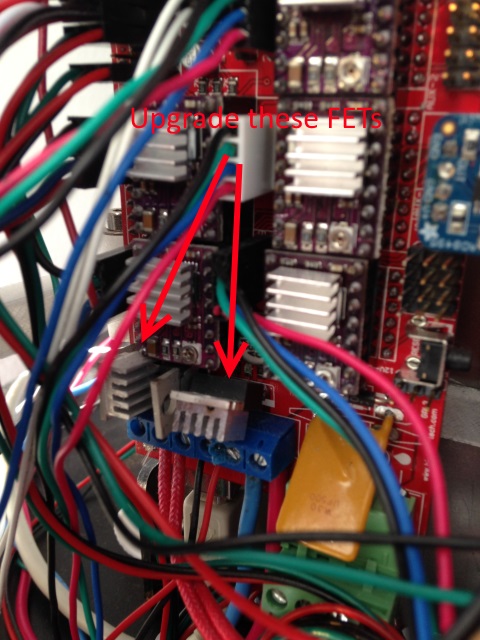
Also stock RAMPS FETs (STP55NOpL) have on resistance on rsistance of 23 mΩ. That may seem small but will cause them to burn switching this much current I’ve done it. They need to be upgraded. I changed them out for 2 IRLB3034PBF-ND with 1.4 mΩ on resistance which was suggest on the forums. On top of this I have a heat sink and cooling. Be careful in removing the old FETS and don’t rip the traces. You could also use the stock FETs to switch a relay but I think it’s just simpler to upgrade them. I’ve read some distributors are selling RAMPs with upgraded fets installed.
Hitting 330 Deg C on the hot end
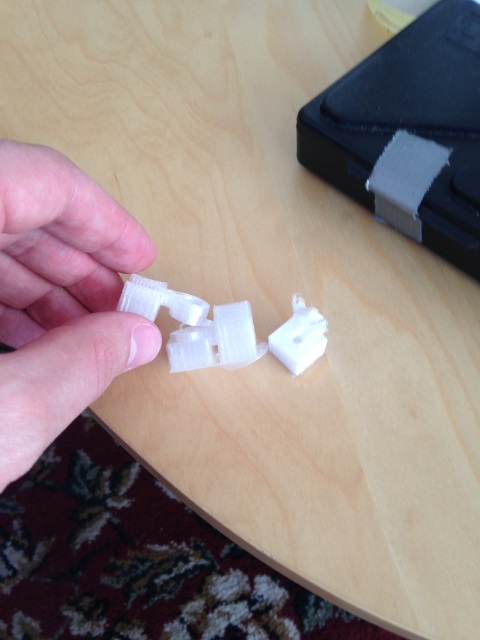
and I’d like got even hotter. I’ve found I can extrude at lower temperatures but I end up with poor layer adhesion that is easily delaminated (shown bellow). The Prometheus hotend I’m printing has .3 mm orifice seems to like to extrude a bit hotter ABS @ 250 Deg C instead of 240. Still I am extruding well over 300 Deg C.
You probably should upgrade the driving FET for the hot end to a IRL3034PBF like described for the bed and indicated in the picture.
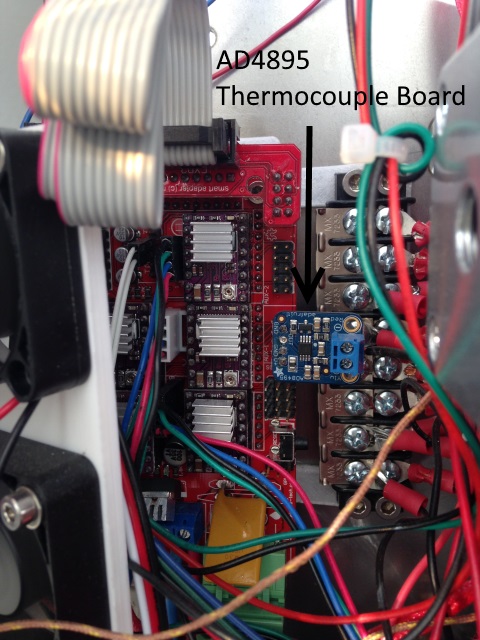
In addition thermistors top out at ~300 C, so a thermocouple is needed on the hotend. I am using and would recommend this AD4895 thermocuple board from Adafruit with k-thermocouple from them too. I first tried a AD597 Ultimaker Temperature Control Board K Thermocouple Signal Amplifier TC1 from Ebay and found it’s temperature output to be noisy varying wildly. You can solder a header pin onto the back and it’s pin compatible with RAMPS. Marlin will require you to program the equation into temperature.c .
My hotend currently tops out at 330 C. I’d like to go even hotter. I’m on a 40 Watt cartridge from amazon.com and just ordered a 80 W one from ebay.
and a dry box
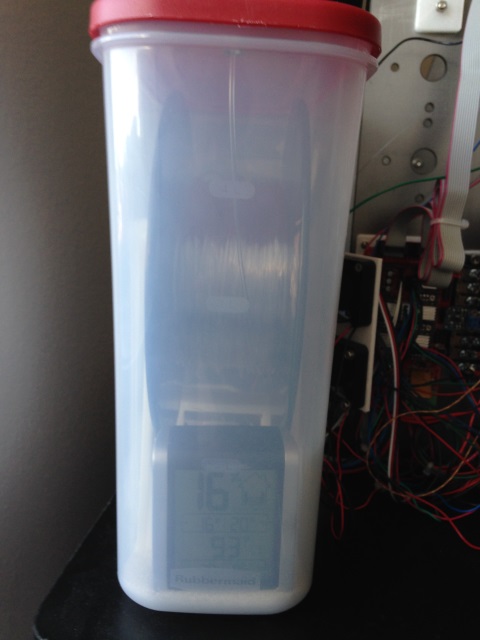
I’ve always had my PC in a dry box. Everything I read said it was needed and I haven’t really tested how things go without it. I haven’t posted the details of my drybox. It’s nothing though special though, there are many designs out there on thingverse. One thing I have done is I put an accurite 006 humidity guage into each box to make sure it’s holding humidity.
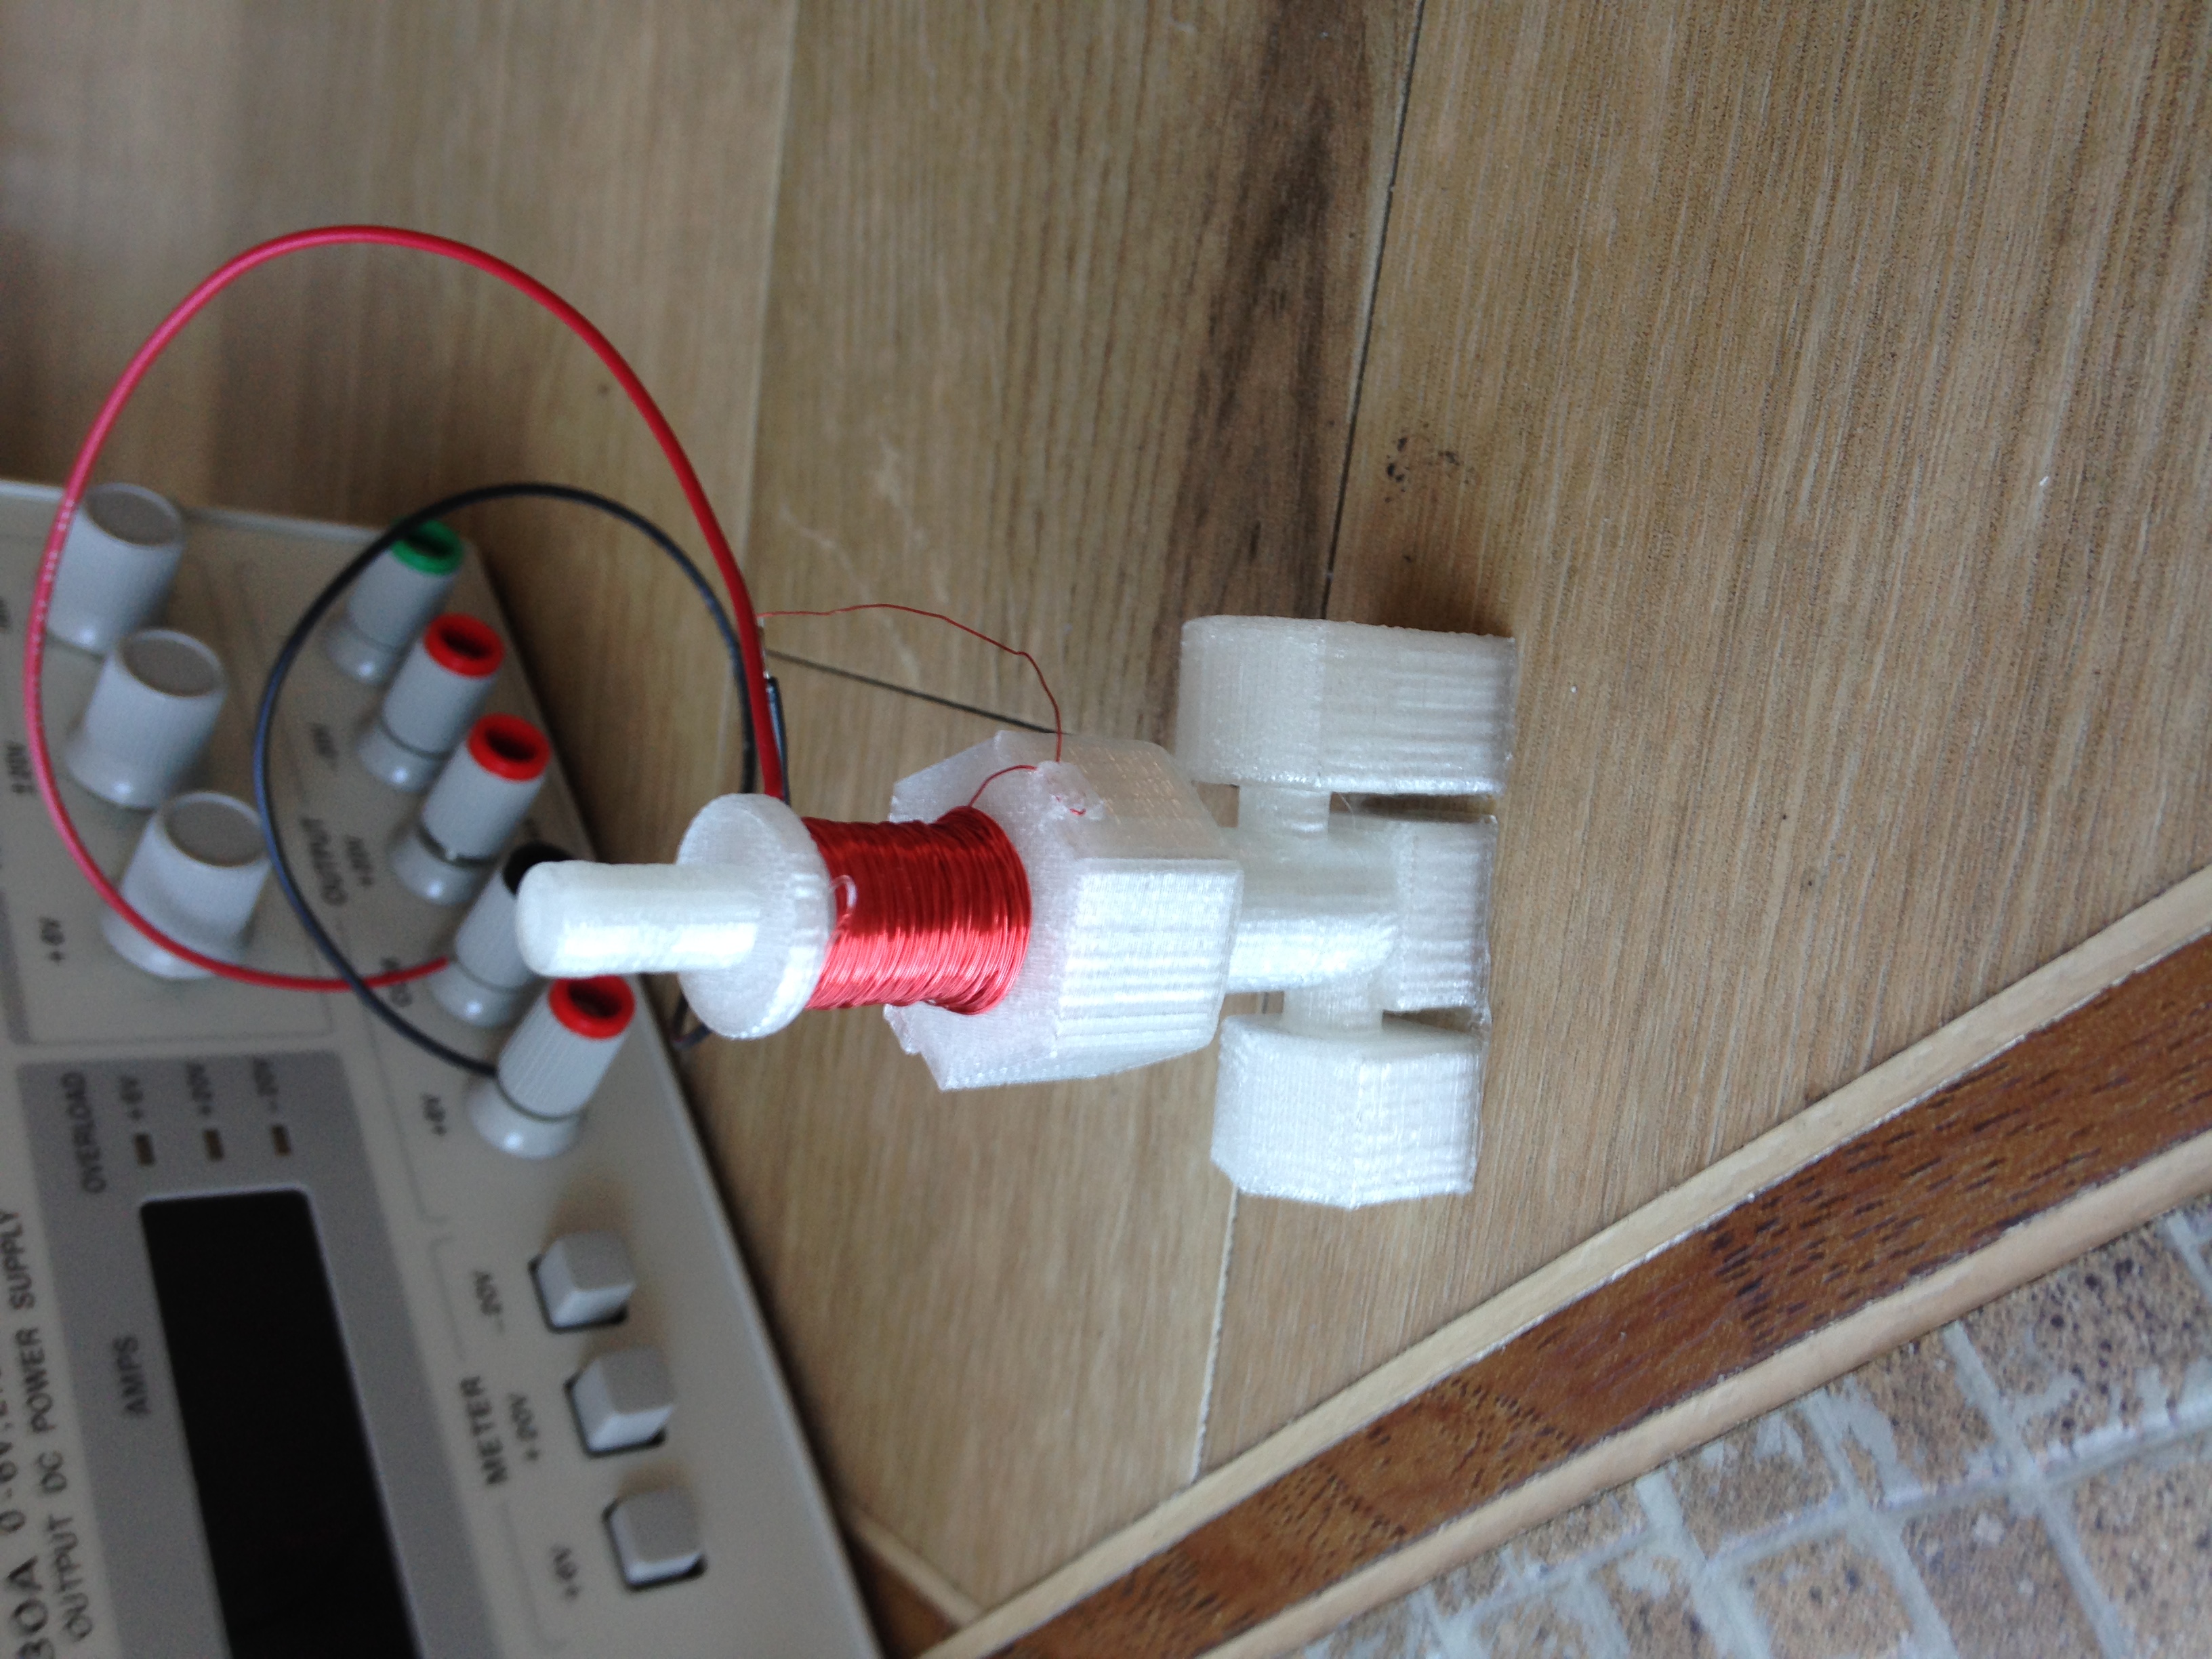
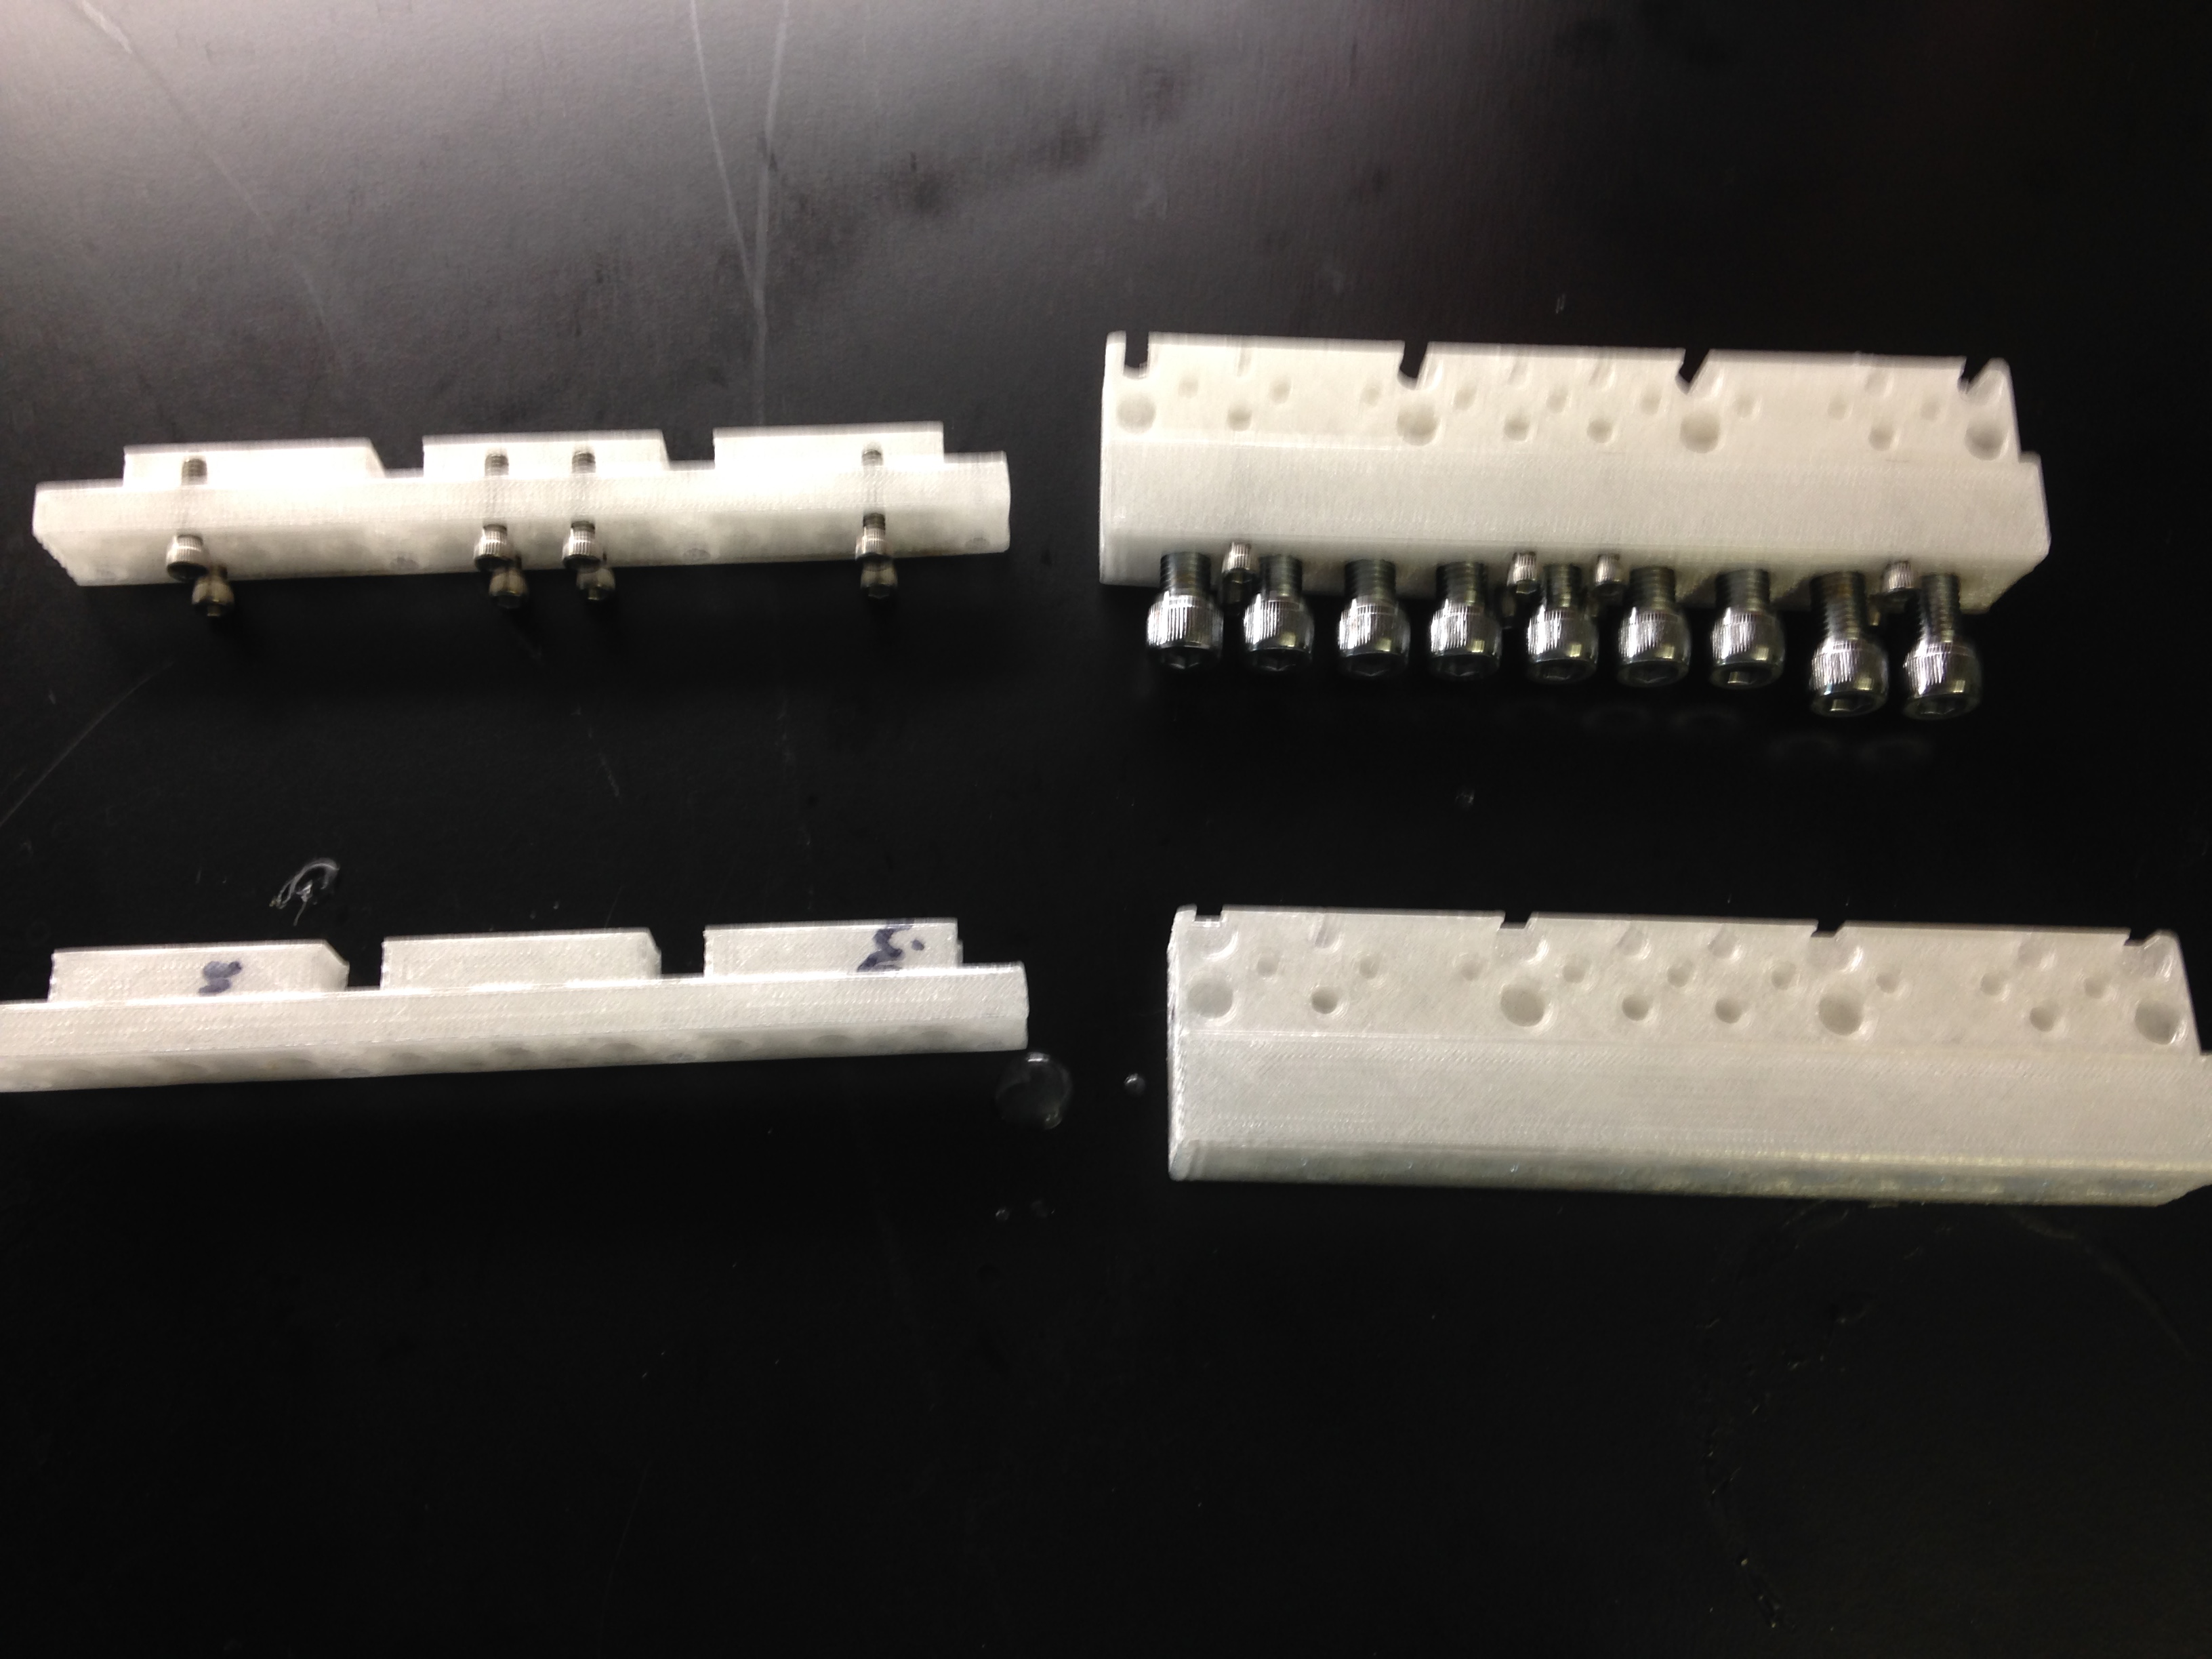
Pics of Results
That’s my guide to getting good prints in polycarbonate. Here are some pictures of some parts I’ve printed. If you look at my twitter feed you can see that I’ve also already experimented with sealing these parts with resin based epoxy. I’ll post more on that later. I’ve done more than these few but they are what I can easily find on my phone.
Maybe next I’ll try even more high temp compatible materials like PEEK and Ultem.