I got my first comment on this blog today. It was on the P3Steel page so I thought it’s about time to post an update. I posted about building a P3Steel with some design modifications back in August of last year. I’ve been waiting to get my build done and performing adequately to post about it. My design modifications for the to 2.5 frame to 2.5.1 are here. This is post is mostly pictures of my assembled version. I put more more information about the parts and proteins used in the build as a separate page.
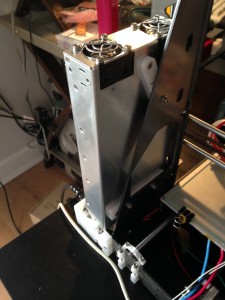
If you remember from my last post, the deficiencies of the HE3D reprap design is it’s flimsy and wobbles. It’s also difficult to get everything square. Hence laser cutting it all out of 3 mm, I used 11 guage steel by H & H Metals in Colorado. This version is indeed way more rigid in fact it’s completely stiff. Here are some pictures of my build.
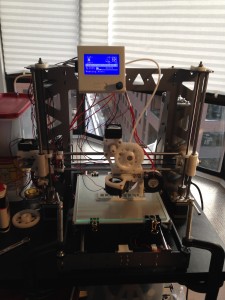
You can see I have it clamped to the cart. I did this to reduce noise and to keep it from slowly walking itself off the front.
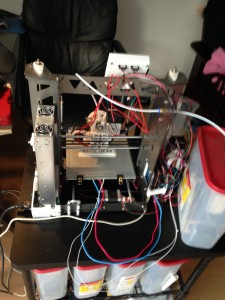
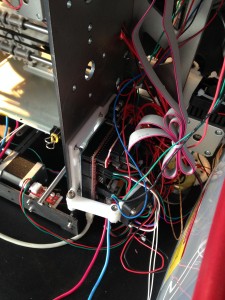
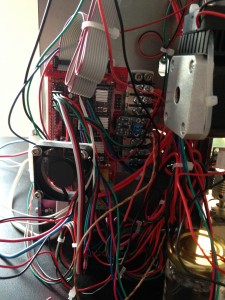
Some of my changes in 2.5.1 were adding mount points for the Arduinio/Ramps 1.4 electronics. I didn’t get the hole spacing correct so I had to print a plate to interface it. On that plate I added connections for a fan for cooling them and off of it a terminal block for DC power distribution.
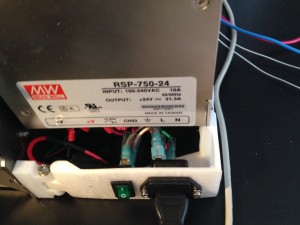
I designed the frame to accommodate a 3 M4 screws for a 350 watt power supply. 350 watts wasn’t enough for my build because of a build plate from aliexpress with just 1.6 Ohm resistance. ^2}{1.6 \, \Omega} = 360 \, Watts")
I designed a bracket to attach the AC input and a switch to. It flips open to give access to the power supply terminals.
Now to put together the parts list so others can replicate it and derive from it.