Movable parts, dove tails, & interlocking notches

Here is prints of 4 new designs. Again off of a B9 Creator. I added features to help the parts fit together. These features are a hinge between the two parts at the bottom, a dove tail between the part still in supports and the part at the bottom, and a grove in the plate.IMG_0760.JPG

Unfortunately, the two pieces a the bottom printed as once piece it doesn’t move around the hinge and I was not able to free it. Here is a view of the hinge from the side.

IMG_0762.JPG

I cut the top piece free. Here you can see that very small dove tail at the back of the top piece.

IMG_0765.JPG

Here is that fitting into the slot on the piece below. The dove tail worked!

IMG_0764.JPG

I ended up destroying the two parts that I had tried to hinge together in the process of separating them. I’m now going to try printing them as two separate parts. With the next version I’ll test out the hinge again and see if the it fits into the notch on the plate.

Prints of next design iteration 

I picked up prints of my next design iteration from the 3d printing store. These parts once again were made on a B9 creator. The small parts came out nice I made the features slightly larger and tried to simplify the design.  


I was able to remove the small parts from the support structure. I had a couple design errors though including a crash between two parts. I also found the parts to be hard to assemble. I made the next desig. iteration to address these issues on Wedneaday and sent off the stl files that evening to 3d printing store for fabrication. They were having some issues quality coming off the B9 but hope to have the parts to me by Monday. 

Small Feature Prints from 3D Printing Store Off B9 Creator

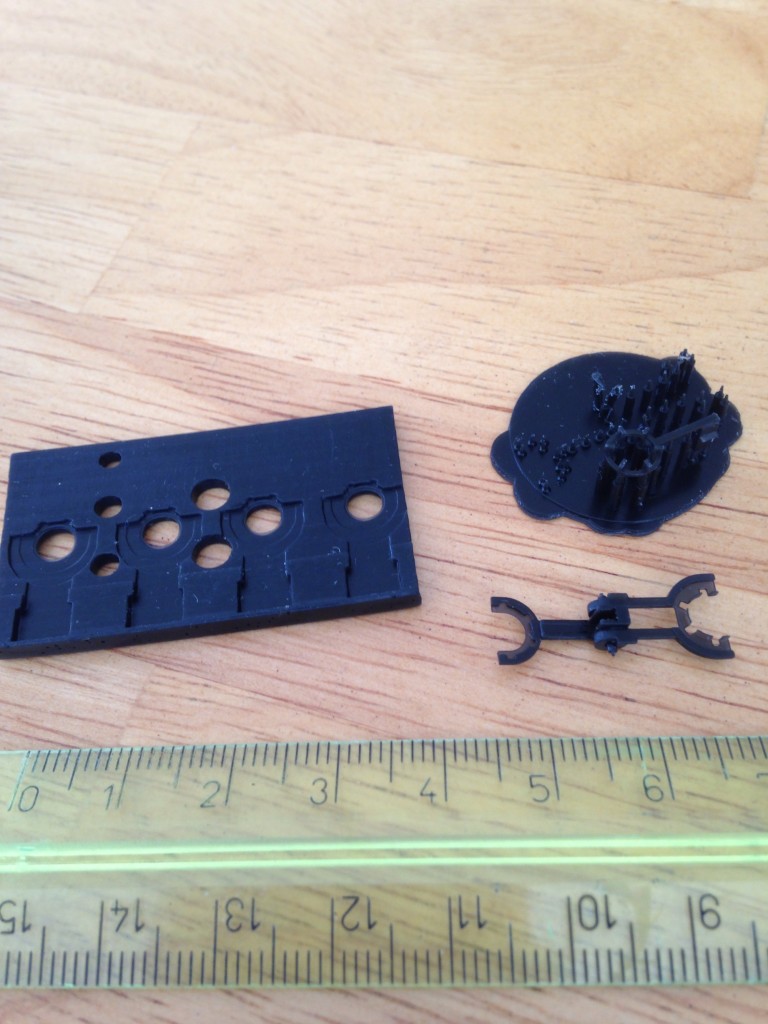
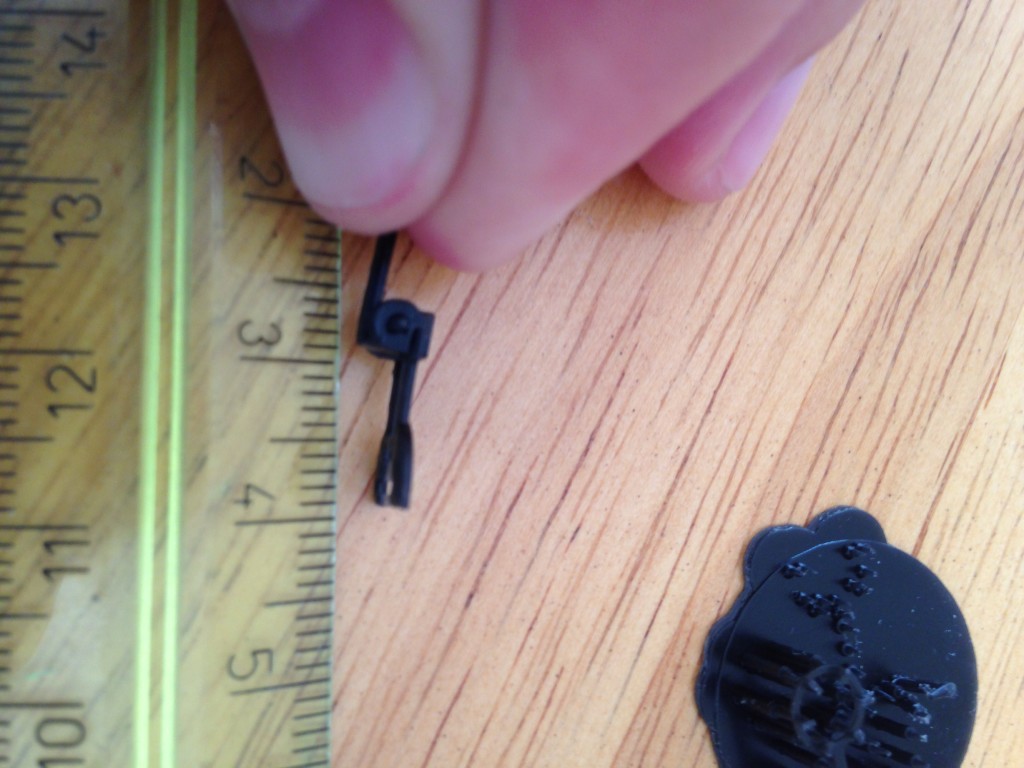
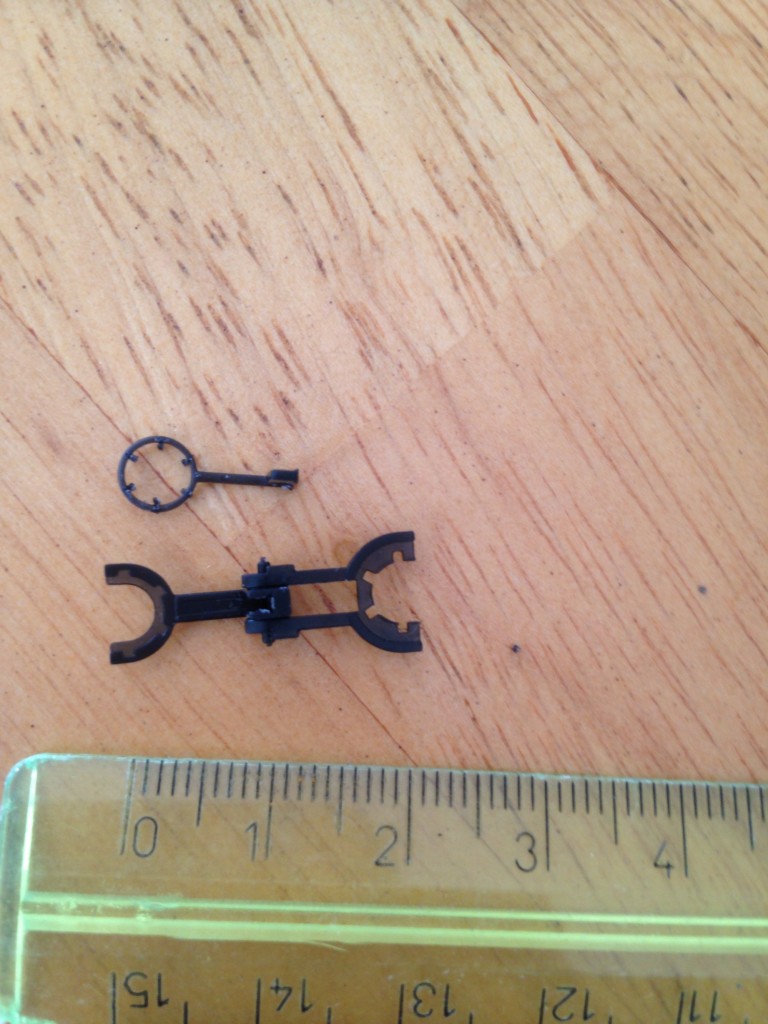
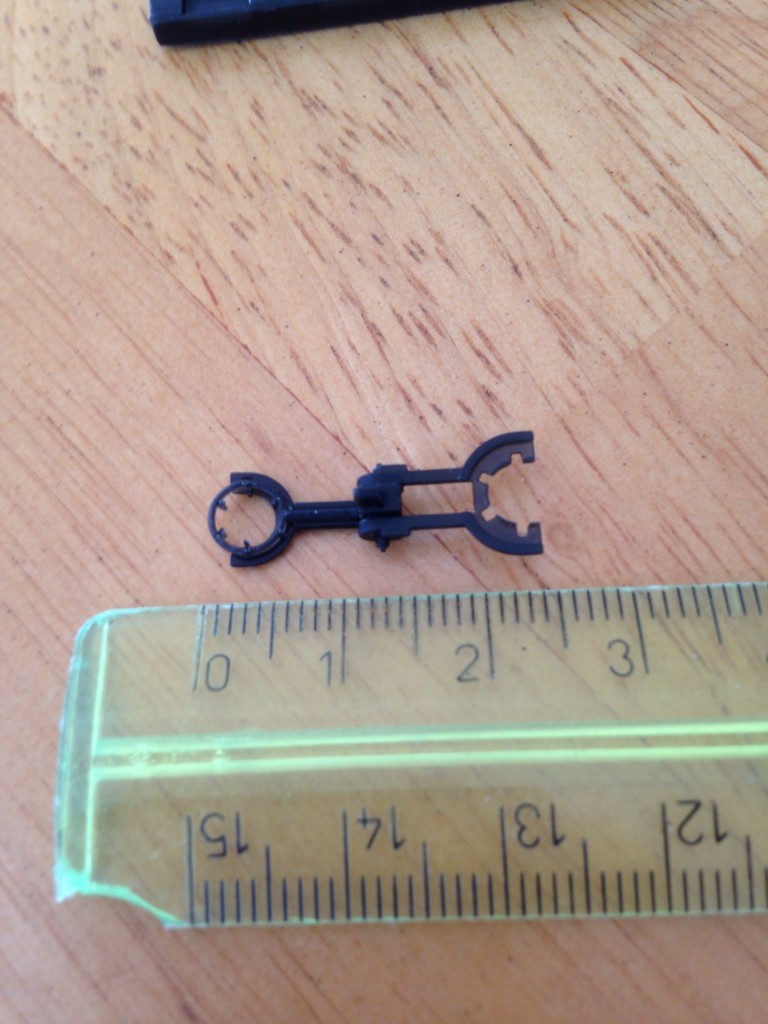
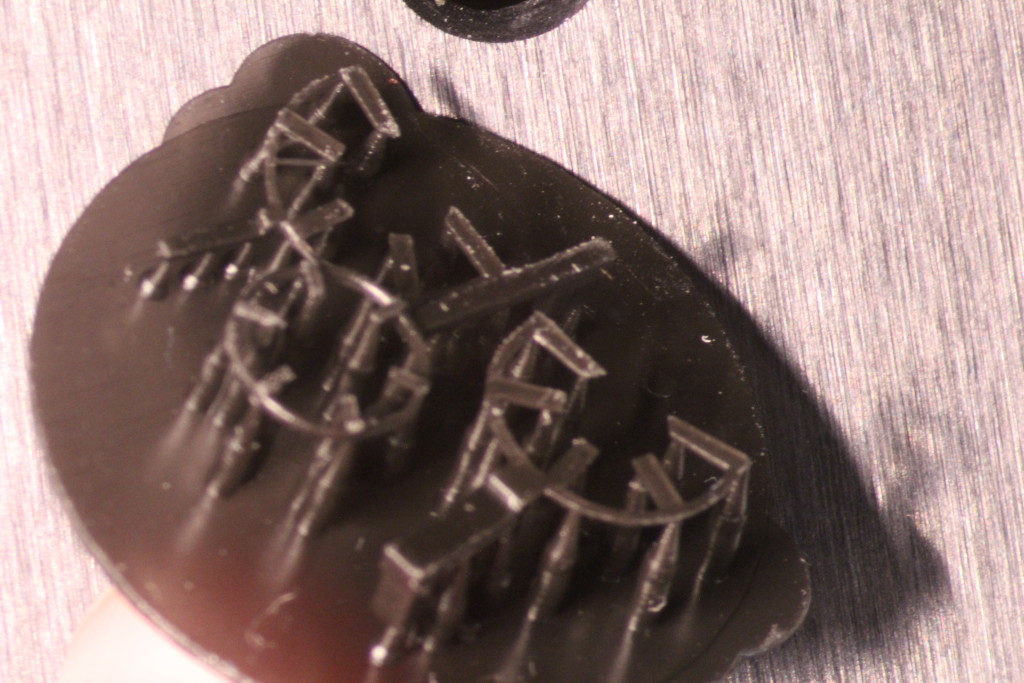
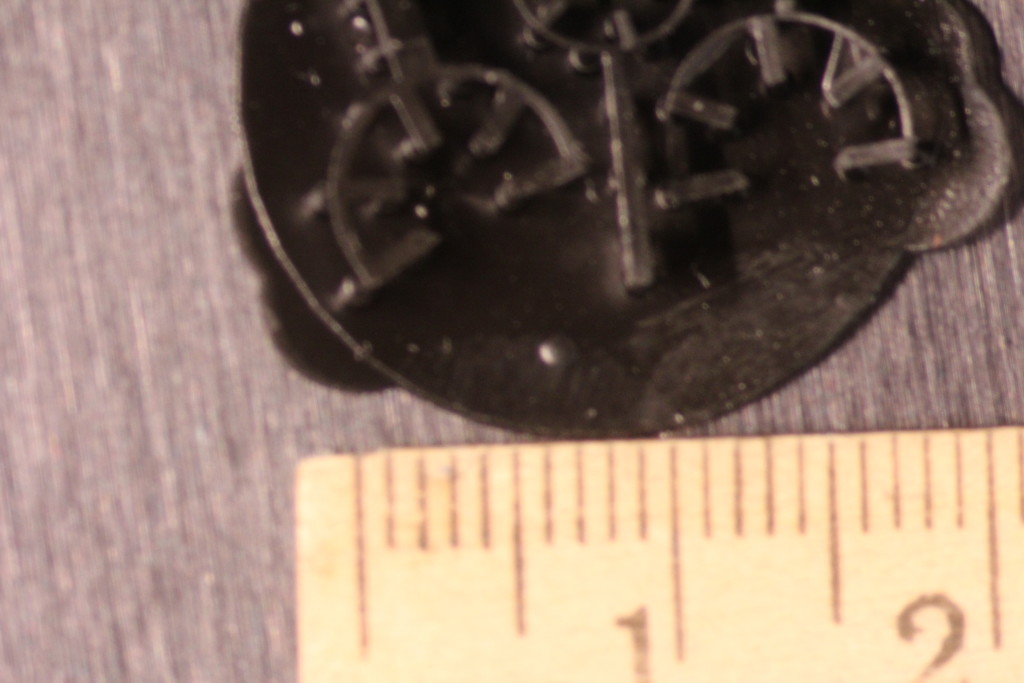
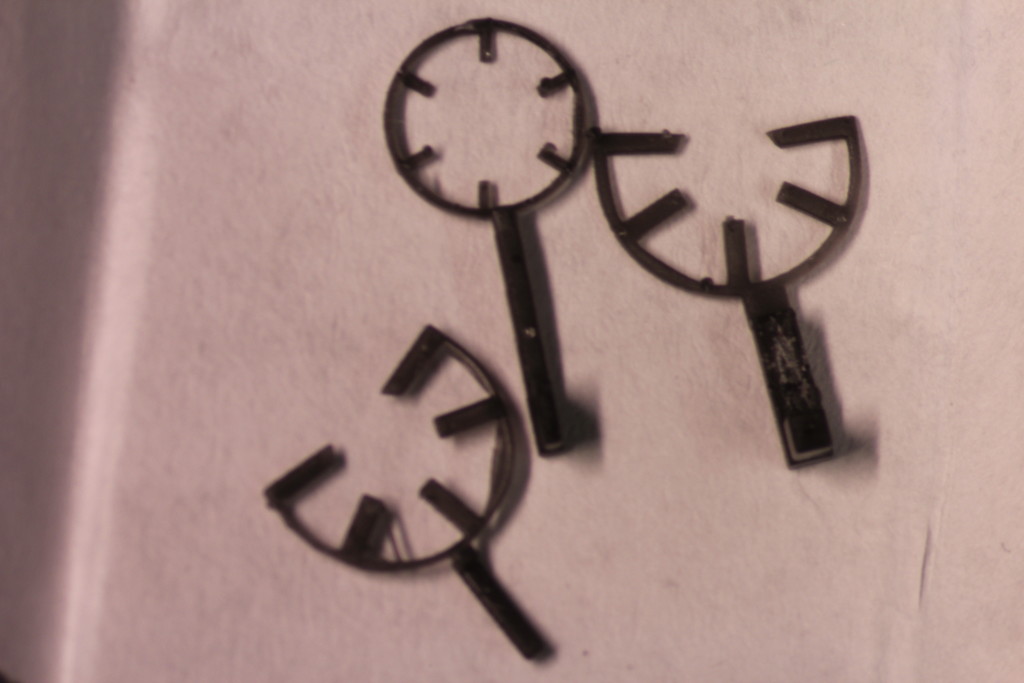
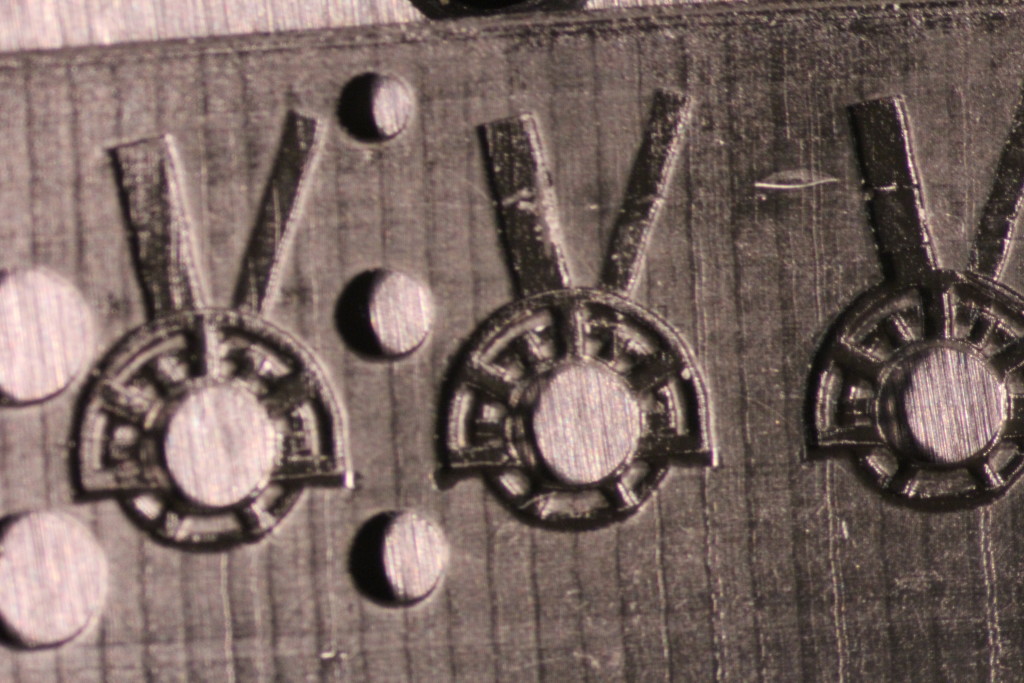
I picked up some prints today from the 3D printing store. They came off the b9 creator and they were able to print these very small structures I designed. My colleague Doug helped me to get them removed from the supporting structures. We took the pictures on the dissection scope.

IMG_1124
Parts on supporting structures
IMG_1122
Parts on supporting structure with ruler. # are cm lines are mm.
IMG_1130
Same small parts after removing support structures.
IMG_1126
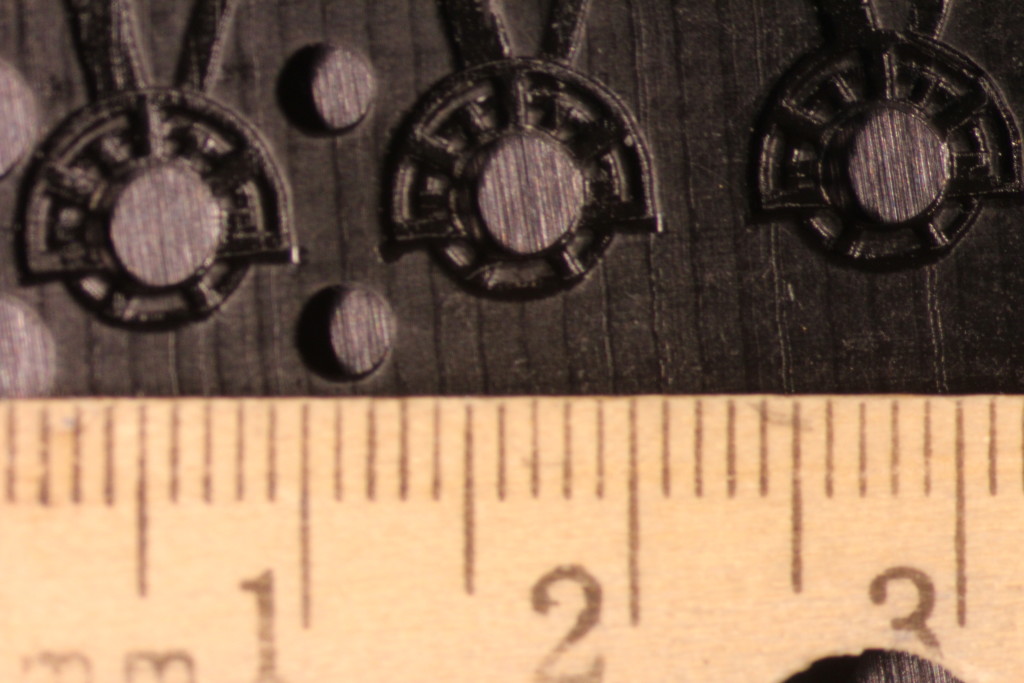
Plate with fine structures.
IMG_1127
Plate with fine structures and ruler reference.

Pretty impressive. The fit too. Still have a few more iterations to go on the design.

B9 creator prints compared to form1

Black Plate Printed on B9 Creator

Today I got the first prints off a b9 creator of some a design I’ve been working on. Checked out the fine features in the ring. The inner diameter of the thru thru came out at 4.3 mm which is correct too. I picked them up at the 3Dprintingstore. Unfortunately, their creator went down after this part was printed so I was only able to get 1 of 5 parts.

My first iteration I did on the form1. The part came out but the through hole was under sized at 4mm. It’s harder to get a pick of the clear part.

Same plate printed on form1. Features are there but it’s harder to photograph because it’s clear material.

Resources to get parts 3D printed (in Denver)

I’ve recently been using 3D printing to fabricate some parts for devices I’ve been designing.  Here are some (local) resources I found for getting parts printed. Worst case scenario you can always get stuff through the mail but why wait on the mail when in town pick up is an option.

1. 3dhubs.com – Crowd Sourcing Website for 3D printing. Over 13,000 printers world wide on the site at the time of posting with over 40 printers in 25 km of Denver, Co. There is two local hubs there with formlabs form1 printers which is one the higher end for desktop 3D printing. There are also a few local printers with the b9 creator. I’ve head 3 parts printed so far with local hubs with turn around times as quick as next day & pick up so I don’t have to wait for shipping.

2. The 3D Printing Store – Up by I-70 and Monaco (Denver, Co). I found them through google and they were the first people to 3D print a design for me. This was a alignment plate they did on an extrusion based 3D printer. Cost was $10 for 3 parts. I had the parts within 2 hours which was amazing. Lately I’ve been working with them to do higher resolution more intricate designs on their b9 creator.

Cell Loss Through CD45 Depletion Process

Thursday Dec. 11, 2014: Performed a CD45 depletion on two EDTA tubes of 7.5 mL whole blood. Tube 1 straight depletion, tube 2 WB spiked with estimated 1000 MCF7 cells. 50 uL of concentrated 650 uL volume of WBC fraction isolated from buffy coat before depletion stored as reference. CD45 depletion performed on remaining faction. Post depletion fractions fixed with 4% formaldehyde on ice for 15 minutes(4 tubes total). (more procedures to come)

Today: Performed flow cytometry to sort for DNA+ cells, i.e. has nucleus and is not debris. Permebilized cells with 50 uL of 10x BD perm/wash into 450 uL volume and added 50 uL 10 ug/mL DAPI for staining nucleus.

Calibrated DNA+ with 1 reference sample. 1 depleted had 1350 nucleated cells. 2 depleted(spiked with 1000 MC7) had no cells. I must have lost the cells in the wash process from the fixation. Everyone says all washes have loss. Karen suggested to use higher RPM wash. Go to 2000 RPM on beckman. She points out I don’t care about damage to cells that already fixed.

My though is I need to develop some technology that allows me to do cell washes without loss. I have some ideas on how I can use the track etched polycarbonate membranes to do this. More to come.

My new blog ctchunter1.gregfutia.com

The purpose of this blog is to document and report my ongoing activities in developing technology for the identification and isolation of circulating tumor cells (CTCs).

First, CTCs are rare cells (1-50 per 10^6 white blood cells (WBCS) or 10^9 Blood Cells) shed from a tumor into the blood stream. The difficulty in identifying, isolating them and developing technology to do this, is due to their rare nature. The rarity is sometimes related through the analogy of identifying terrorists 1-50 in 10^9 of the world population and I think this analogy gives a perspective on the difficulties of the problem. This technology development is also in the scope of a PhD in Bioengineering at the University of Colorado Denver | Anschutz Medical Campus.

I setup this blog to detail, in public and open fashion, my current activities in engineering this technology. I’ve come to realize that I’ve collected a good amount of data on things that work and things that don’t and I want to disclose this findings and the data. Also, I’m hopeful that by disclosing them I can get feedback from you and develop them faster. This disclosure process is a delicate process since I’m also interested in publishing and developing IP on this work.

This is my second attempt at trying to setup a blog. First time failed due to a lack of commitment. I also wasn’t happy when blogger.com discontinued the ability to update to ones self owned server (in my case gregfutia.com) early on in the process because I don’t like losing control of my content to whoever is hosting.

CTCHunter1 was the name of the twitter handle I setup after I attended the 21st Cytometry Development Workshop at the end of October, 2014. It was a great conference and afterwards I realized I need to use the internet better to say in touch.

I set this website up using wordpress.org. It was pretty easy after downloading the tar.gz and setting up the databases. The initial setup time really was ~5 minutes. So far I’ve been pretty happy with it.